Installing Windows Server 2022 on Proxmox VE

After spending some time getting my lab re-created on my new server hardware, I thought it would be a good time to get a guide together covering Windows Server installation. This guide covers installing Server 2022 with Desktop Experience inside of Proxmox VE. In other words, it is the GUI version. I will be creating a guide covering the install of Windows Server Core, as that is where I am moving more and more of my workloads.
Assumptions
This guide covers installation using the Proxmox VE hypervisor. This guide will still apply to general windows server installations. I will add notes on the steps that are not required if you aren't using Proxmox VE.
Creating the Virtual Machine
Since I'm using Proxmox VE, this portion covers the VM setup using that hypervisor. Please follow instructions for your specific use case.
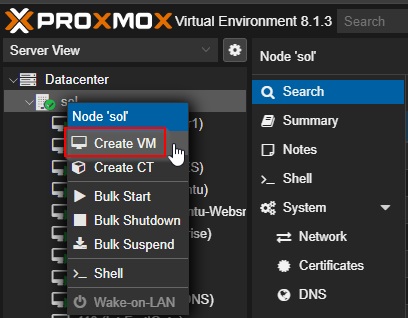
- Right click and select "Create VM"
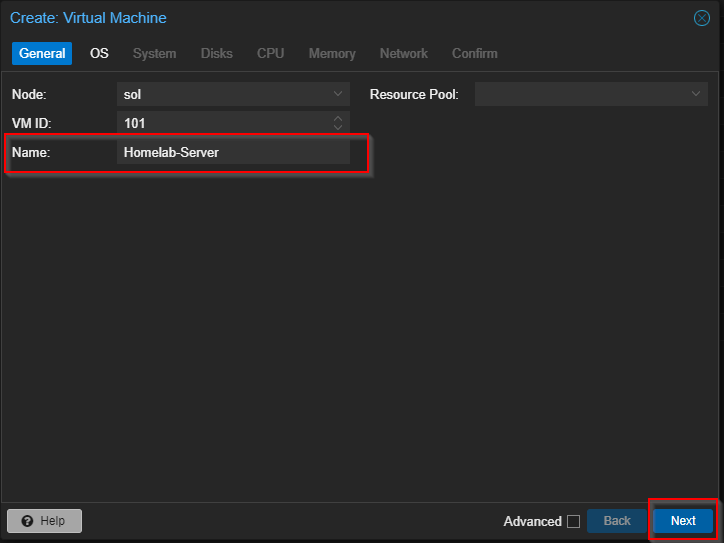
2. Name your VM. This can be whatever you like it to be.
3. We'll be installing Windows Server 2022, so we choose the ISO for that. 2. Choose "Microsoft Windows" as the type and "11/2022" as the version. We'll want to use the VirtIO drives, so check the box next to "Add addtional drive for VirtIO drivers". 4. Select the ISO image of the virtio drivers.

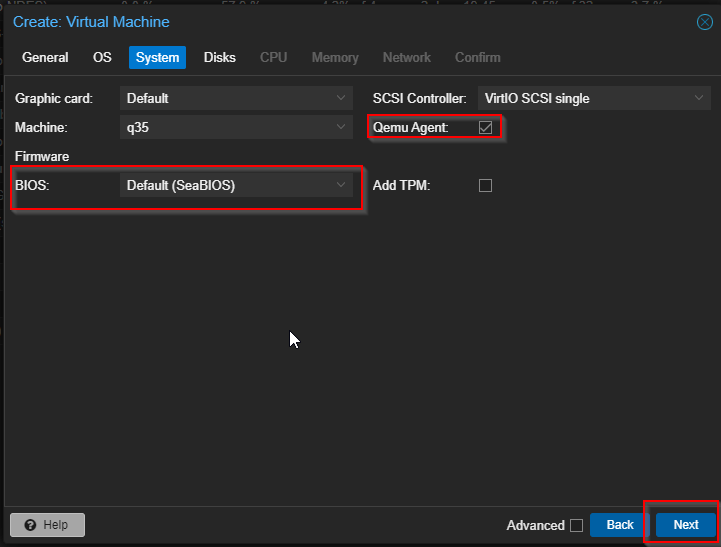
4. Set your settings to how you see them below. (Note that these work well for me. If you have another way you set them, go for it.)
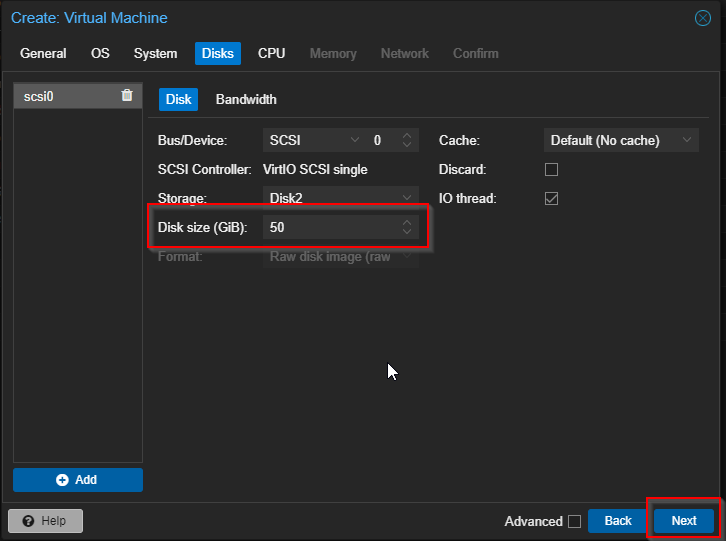
5. Choose your disk and size. I bumped up the storage to 50 GB on this VM.
6. Choose the number of CPU cores. Choose the type "host".

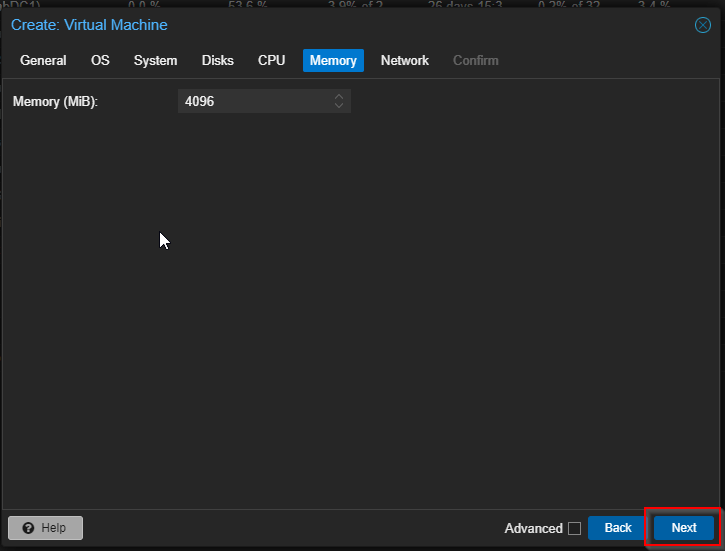
7. Select how much RAM you'd like (in Megabytes).
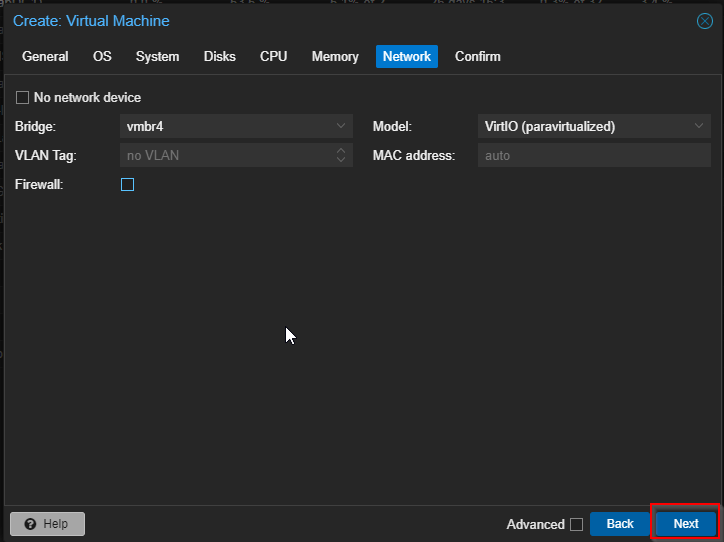
8. Select the network your VM should run on.
Double check your VM settings and make sure they are correct. When you are satisfied, choose "Finsihed".
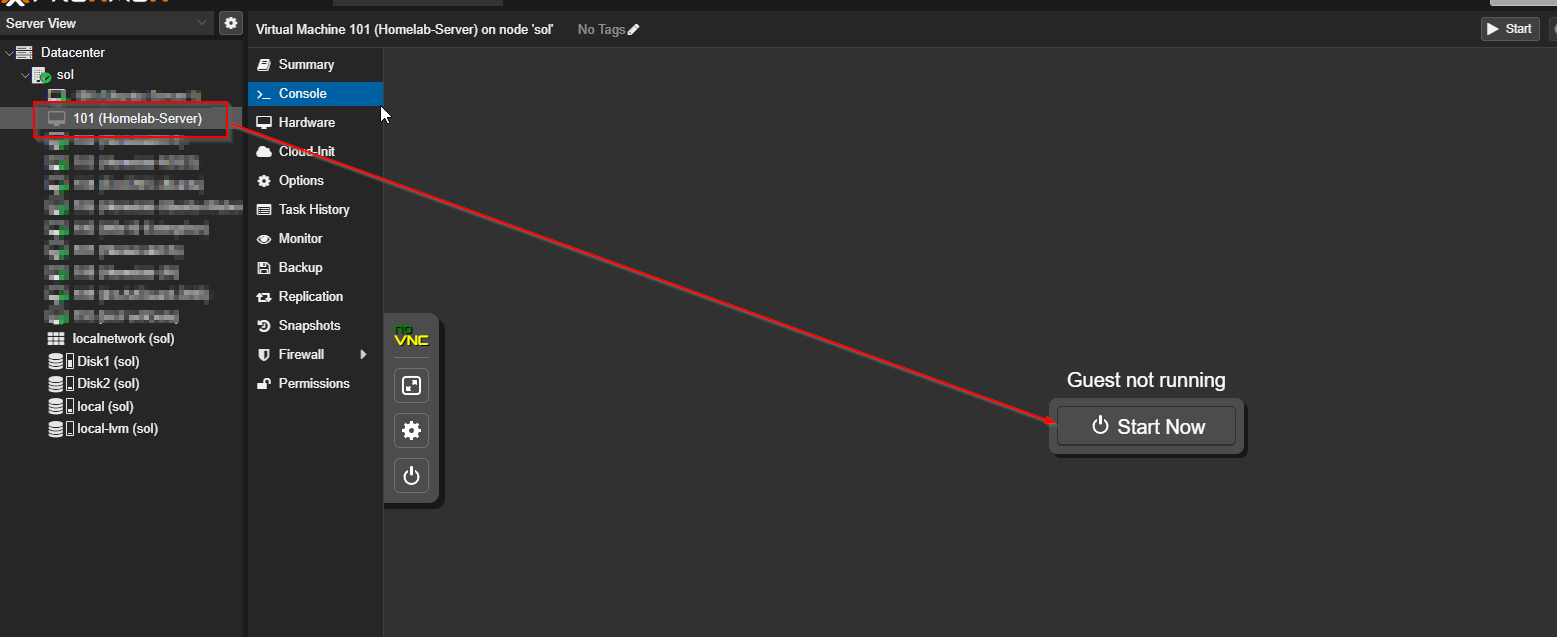
9. Now turn on the VM by choosing "Start Now"
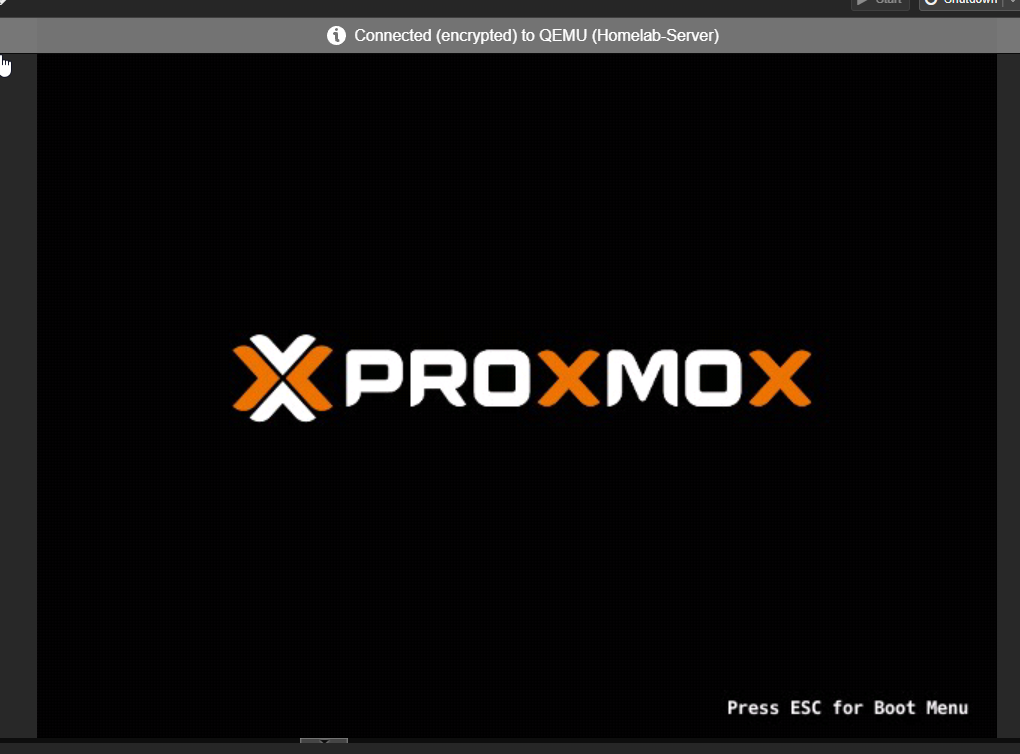
10. Your VM begins to boot! Please continue below for the rest of the Windows Server 2022 installation.
Installing Windows Server 2022
Once your VM is started, a loading screen will appear. If this does not appear, be sure to check your VMs boot disk order.

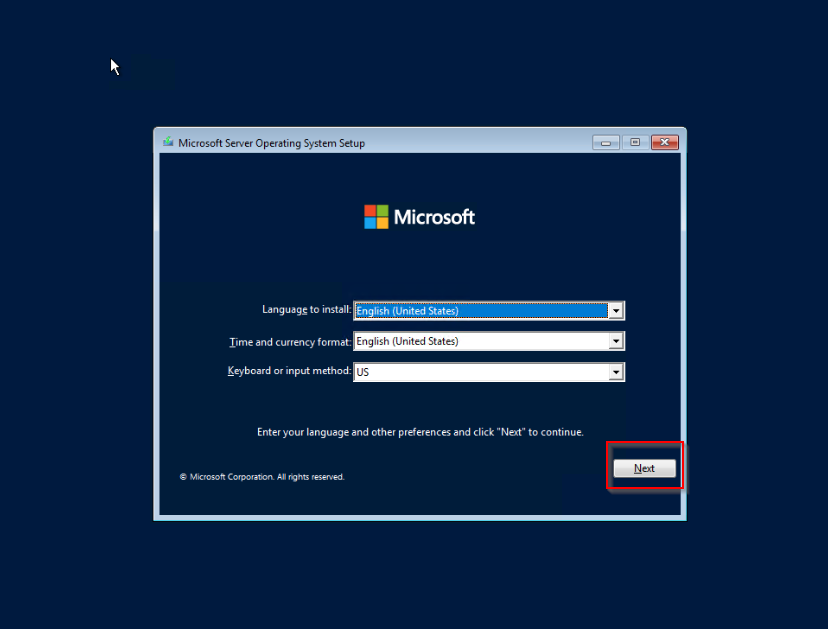
Next, select your language, time and currency format, and keyboard if desired. Hit "Next"
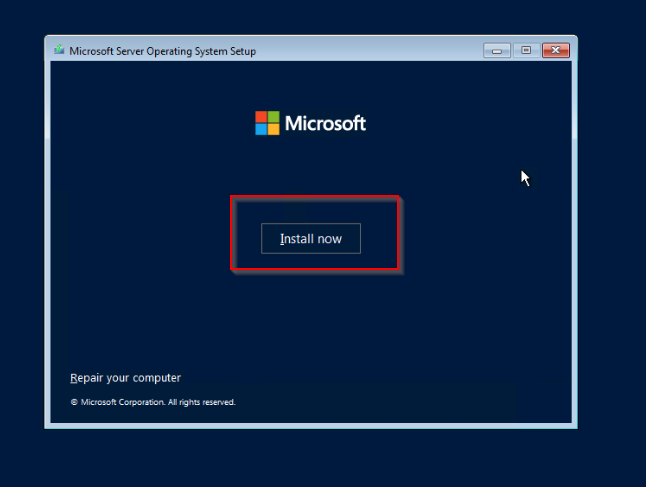
Click "Install Now"
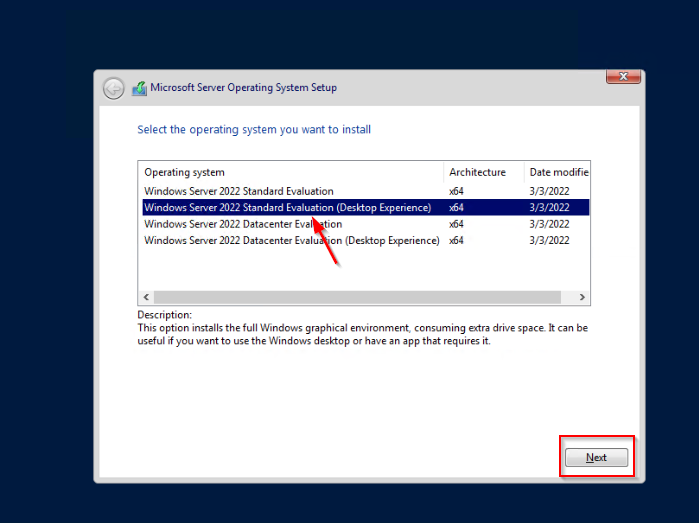
For this guide, we are installing Windows Server 2022 Standard Evaluation (Desktop Experience). Please see [insert link here] for a guide on installing Windows Server Core.
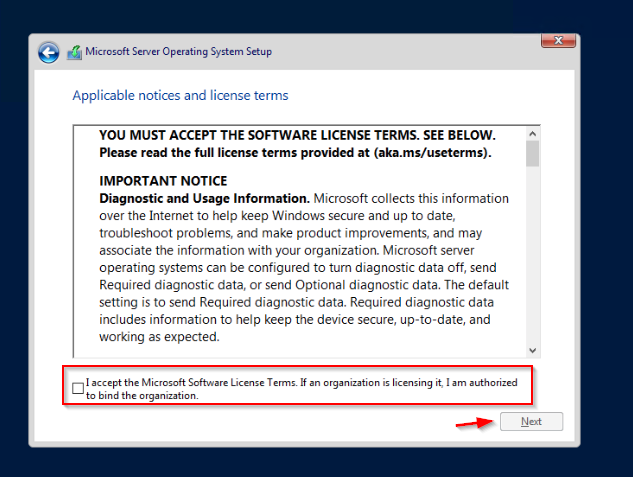
Accept the Eula and click "Next"
Choose "Custom: Install Microsoft Server Operating System only (advanced)"
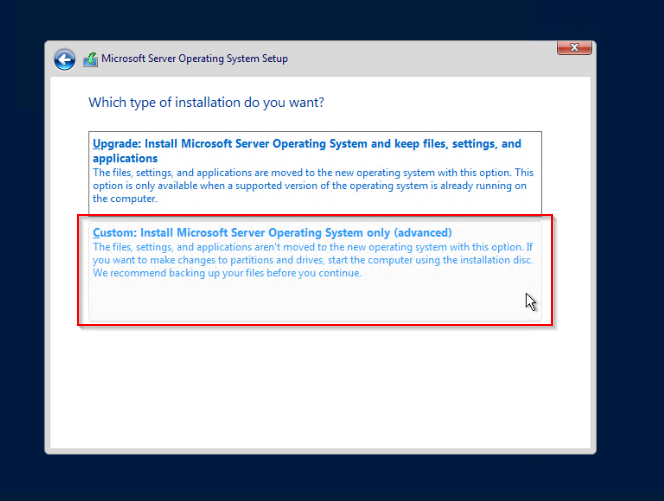
This is a section that may not be necessary for your installation. This is necessary for the way we set up the VM in Proxmox VE. The reason why is because we chose a disk type during the VM setup that needs drivers to work. We included the driver disk during setup, so we can access it now.
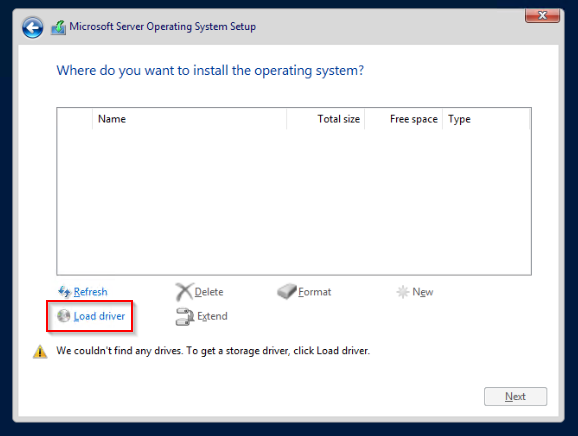
If you see a disk already populated here, skip to step [insert step here]. Otherwise, select "Load driver"
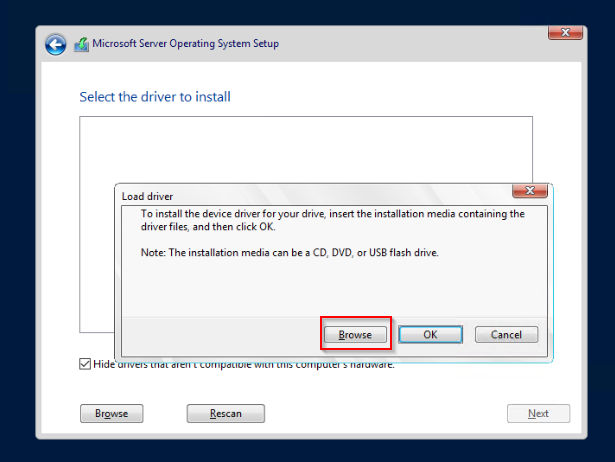
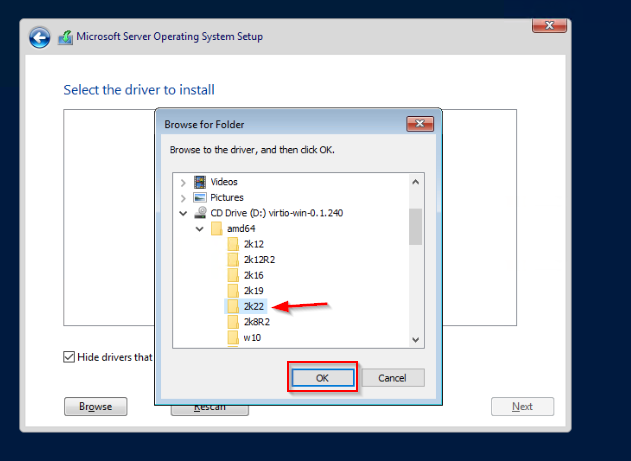
Click "Browse"
Find the virtio disk that we added. In this example, it is in CD Drive (D:) viritio-win-0.1.240. Expand that disk so you can see the folders underneath.
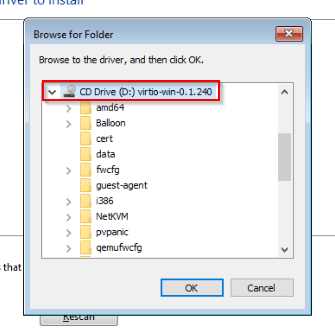
Expand "amd64" and select "2K22".
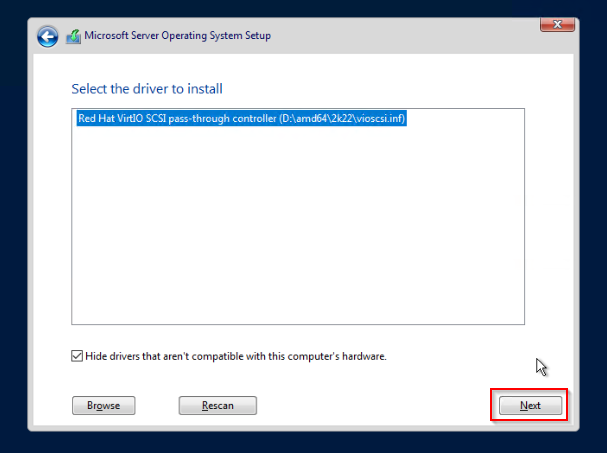
The VirtIO SCSI driver will now be loaded. Click "Next"
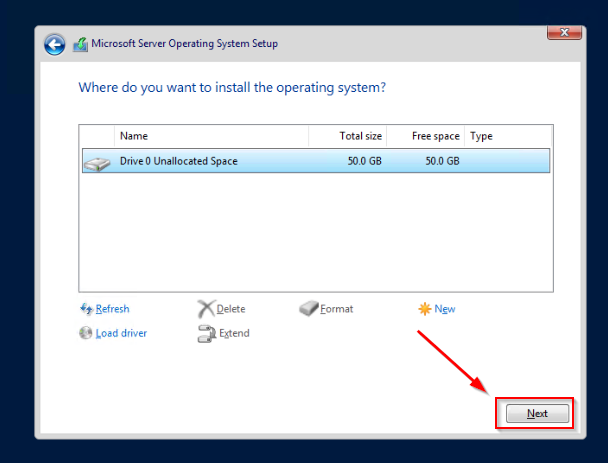
Click "Next" once the drive appears. You may need to click "Refresh" if it doesn't appear automatically.
That's it! The installation has begun.
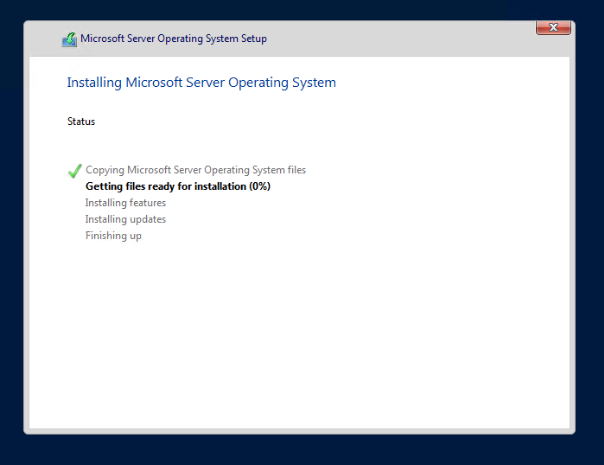
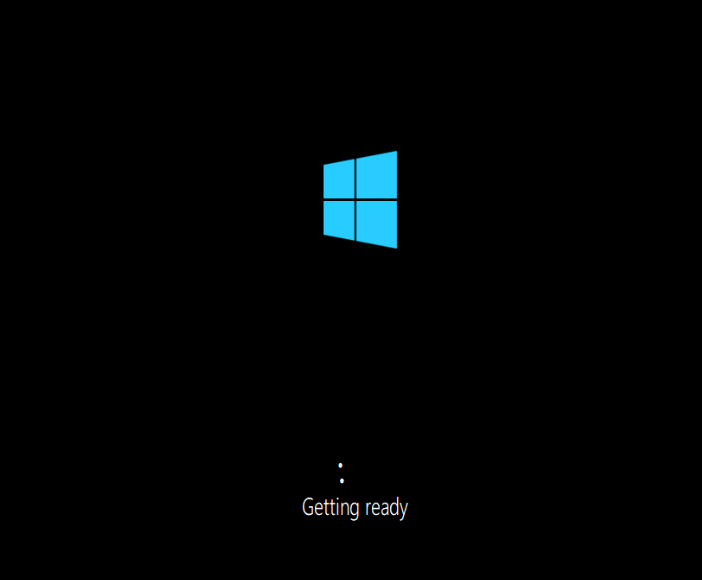
This step can take some time. Once it completes it will reboot. You can tell that Windows Server is booting correctly when you see this screen.
After some time loading, you will be prompted for a password for the local administrator account. Put in your desired password and click "Finish".

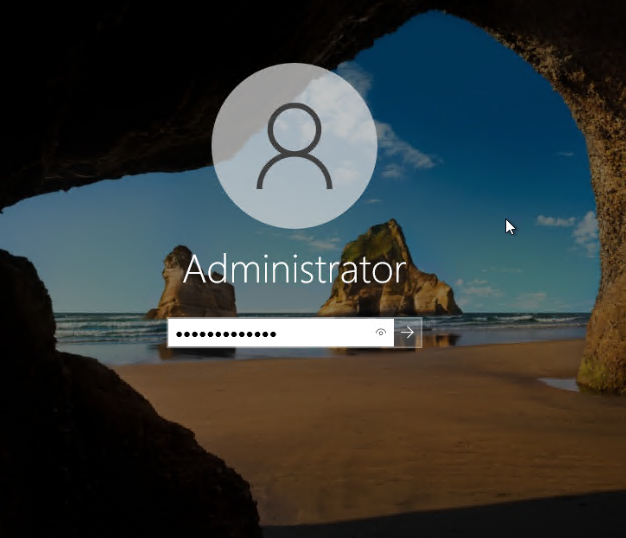
And just like that, we're at the welcome screen.

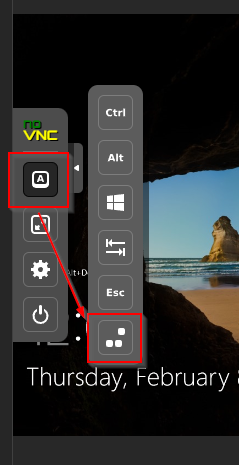
Hit Ctrl + Alt + Delete however your hypervisor window does. For Proxmox, you can hit the key combination in the noVNC menu.
Enter the administrator password you just created. Hit the enter key to log in.
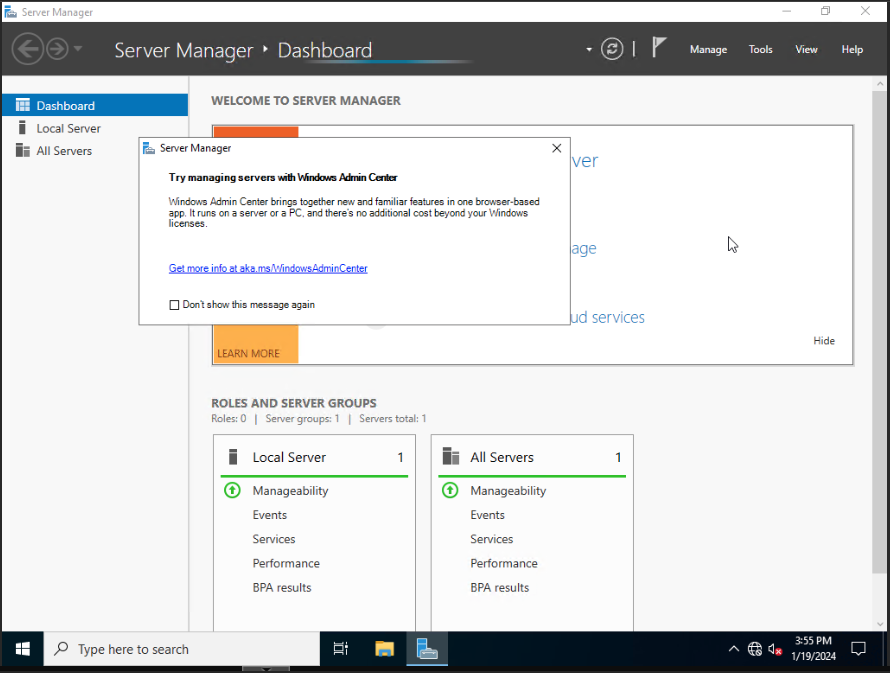
Now we've successfully logged into our new server. We will be presented with the server manager upon login.
This is a step that is specific to my installation on Proxmox VE. If this does not apply to you please skip these steps.
As you may have noticed, we've got no internet. That is because we don't have the proper drivers installed. We need to install the rest of the VirtIO drivers on that disk, kind of like we did during the installation process.
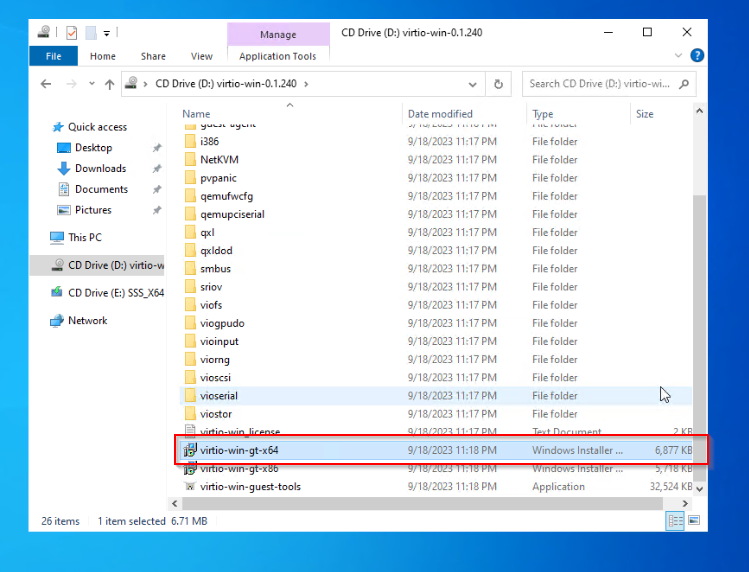
Open windows explorer and locate the D: drive like we did earlier. Find the file called "virtio-win-gt-x64". This MSI will install all applicable VirtIO drivers for this system.
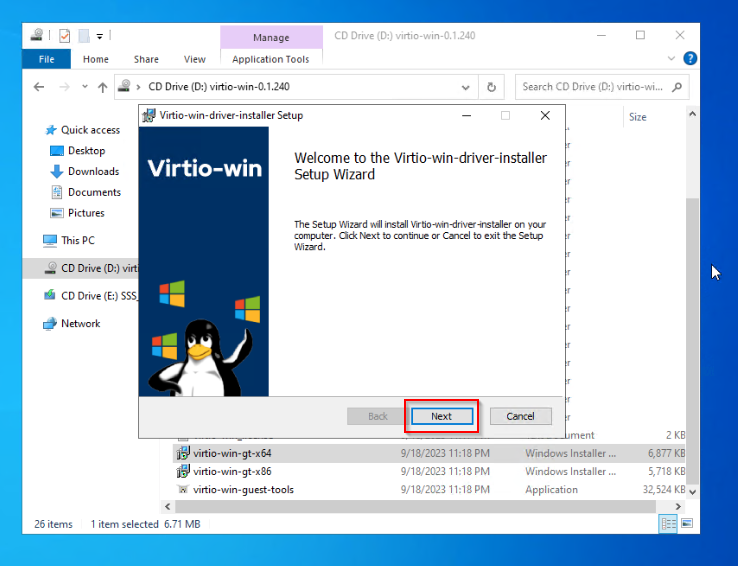
Click "Next"
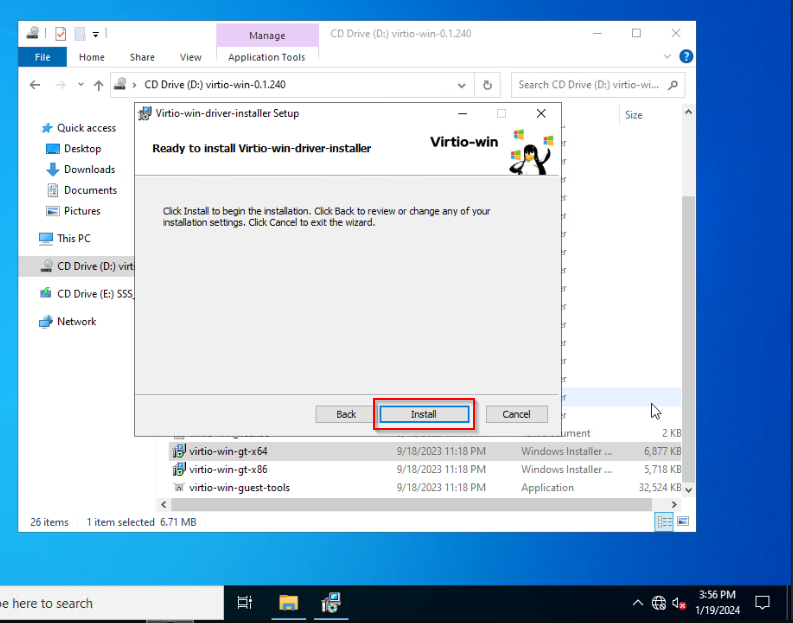
Click "Install"
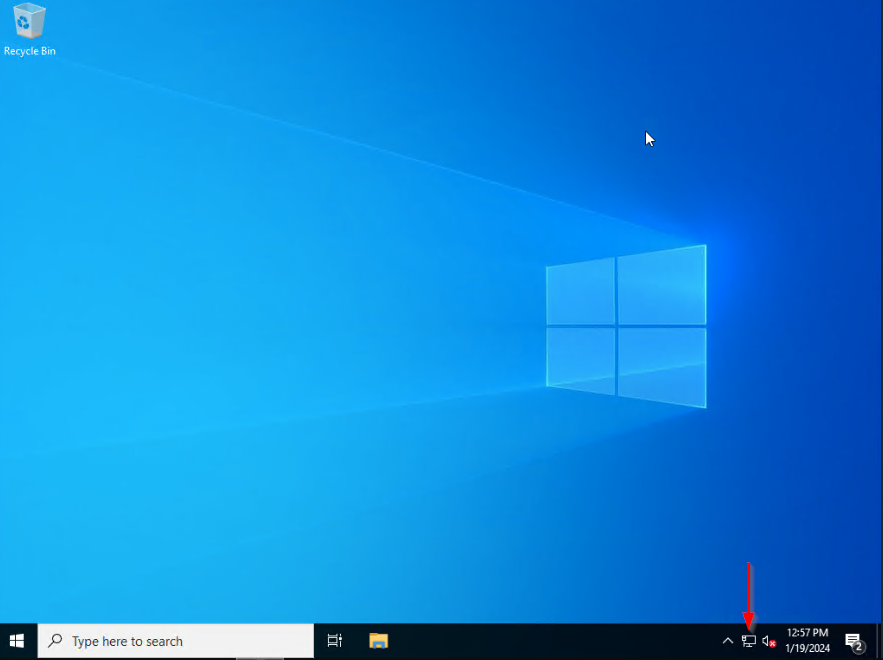
The installation will complete. If you look in the bottom right corner, you can see that we now have a network connection.
Domain Joining Our New Server
Now that we have our server installed and connected to the network, we can go ahead and get it domain joined.
Setting up our network settings
We need to set our network settings to look for our domain controller for DNS, so we can join it to the domain. This can be done automatically through DHCP, but I did not have that set up yet in my lab at the time of this writing.
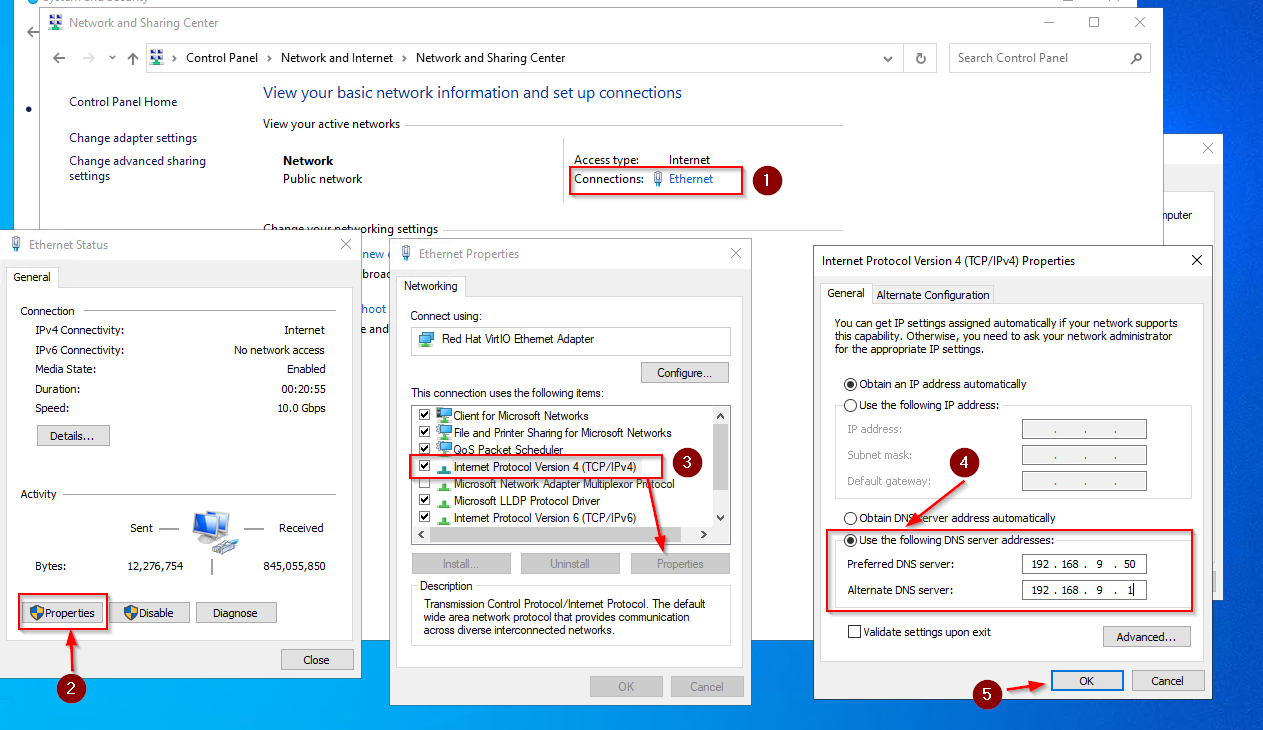
From Control Panel, open "Network and Internet" > "Network and Sharing Center". From there:
- Click "Ethernet"
- Click Properties in the box that appears.
- Select "Internet Protocol Version 4 (TCP/IPv4) and Click "Properties"
- Select the "Use the following DNS server addresses" radio button. In this example, my domain controller is at 192.168.9.50. This may differ from your setup. Use whatever IP address your domain controller is using for this step. I also included the DNS server that runs on my network device at 192.168.9.1.
- Click "OK" to save the changes.
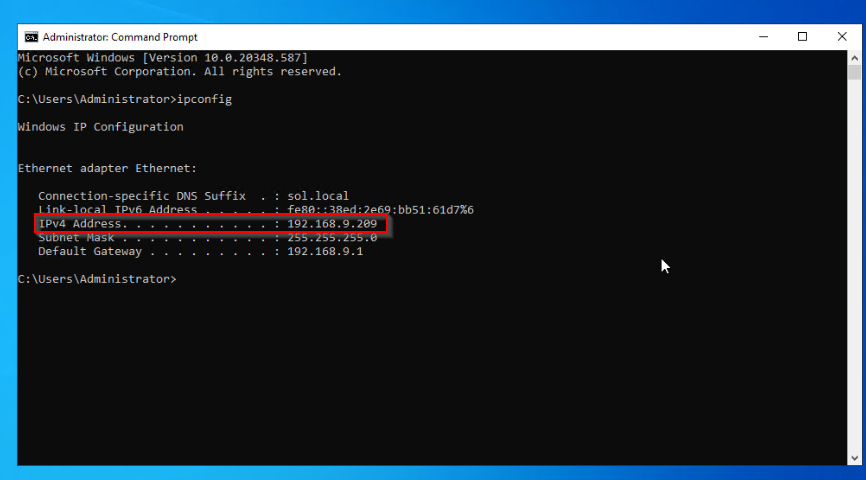
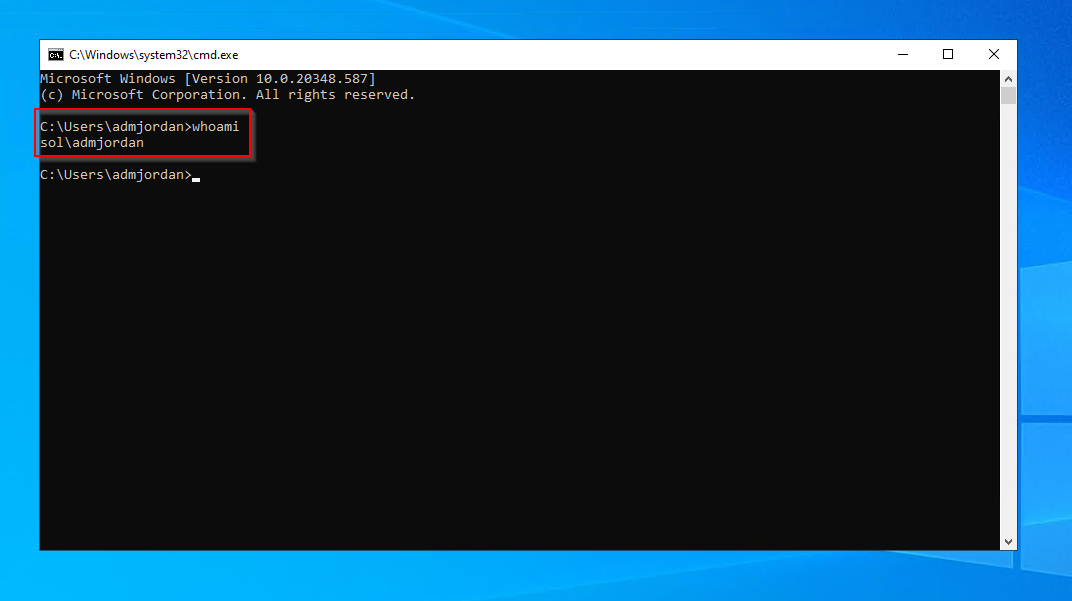
Lastly, open a command prompt and check to see what the server IP address is.
Now that we have that set up, let's enable RDP on our server.
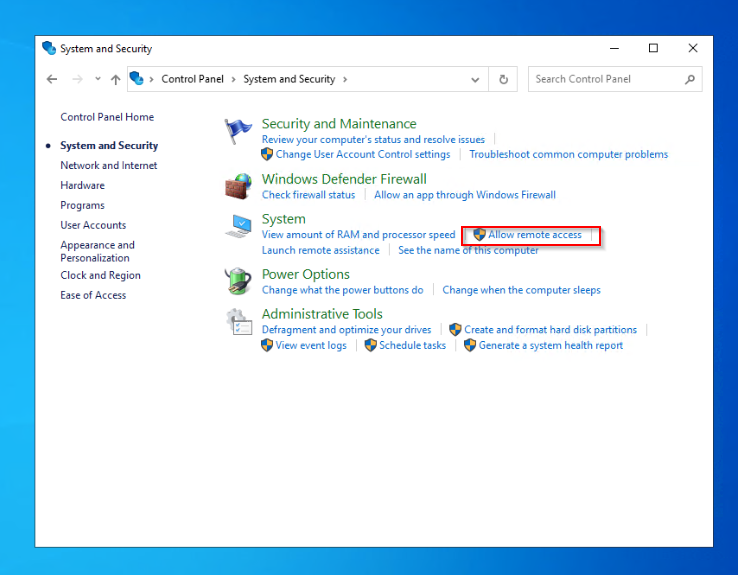
Enable RDP On Your New Server
From the Control Panel. Click "System and Security" and choose "Allow remote access."
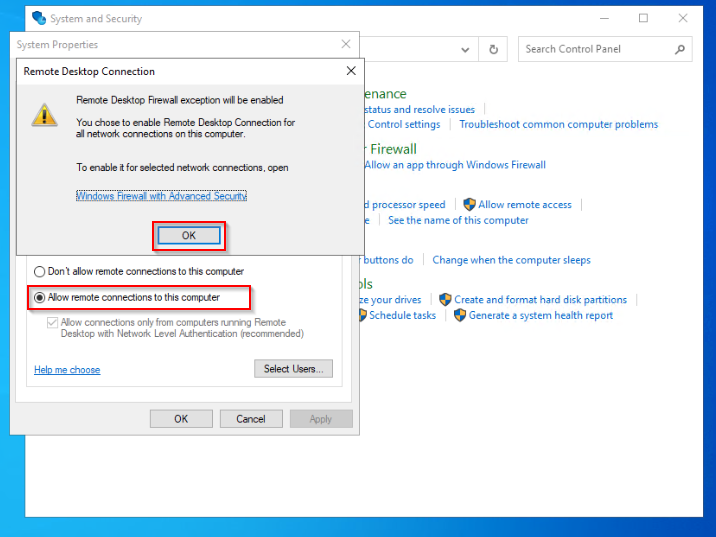
On the next screen, click "Allow remote connections to this computer". A popup will appear to tell you that firewall rules will be changed due to this choice. Click "OK". Click "OK" again.
And just like that RDP is enabled. Let's join the machine to the domain before we RDP to it.
Joining Our Server to the Domain
In my lab, I use the sol.local domain. That is the domain we'll be joining this server up to.
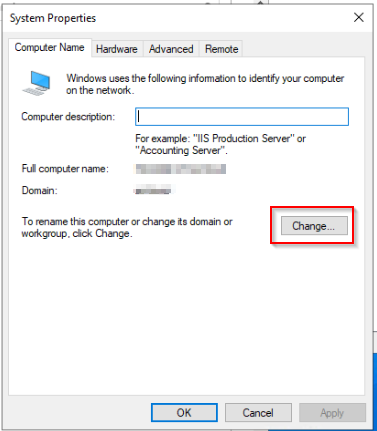
Open up Control Panel and go to System and Security. Under System, click "Allow Remote Access" like we did in the previous step. From there, click over to "Computer Name"

From there, choose "Change"
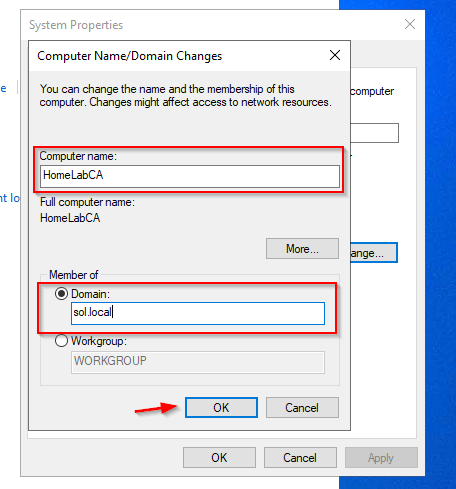
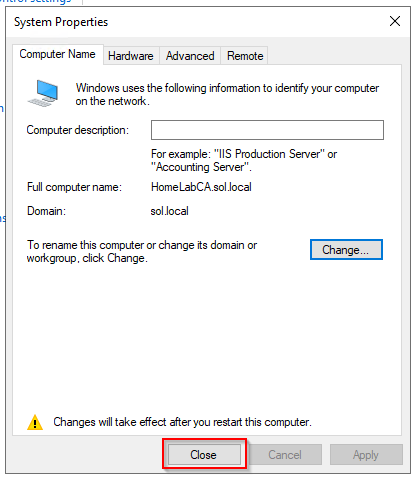
In the computer name field, type whatever you would like it to be called. In this example, I am preparing to set up a Certificate Authority, thus the HomelabCA name.
We are also joining this machine to sol.local. Type whatever your domain's name is. Click "OK"
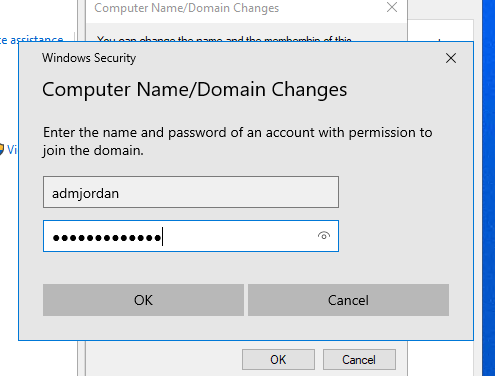
You will be prompted for your credentials. In this case, I use my admjordan account to add the computer to the domain. Use whatever admin account you like. If you followed my AD setup guide, please use the admin account we created. [Insert link here]
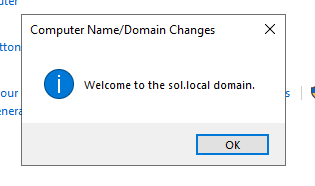
If successful, a message will pop up stating "Welcome to the sol.local domain". It is one of my favorite messages in Windows! Click OK.
Click OK to acknowledge that you must restart the server to apply changes.
Click OK
Click "Restart Now"
Remote Desktop To The Server
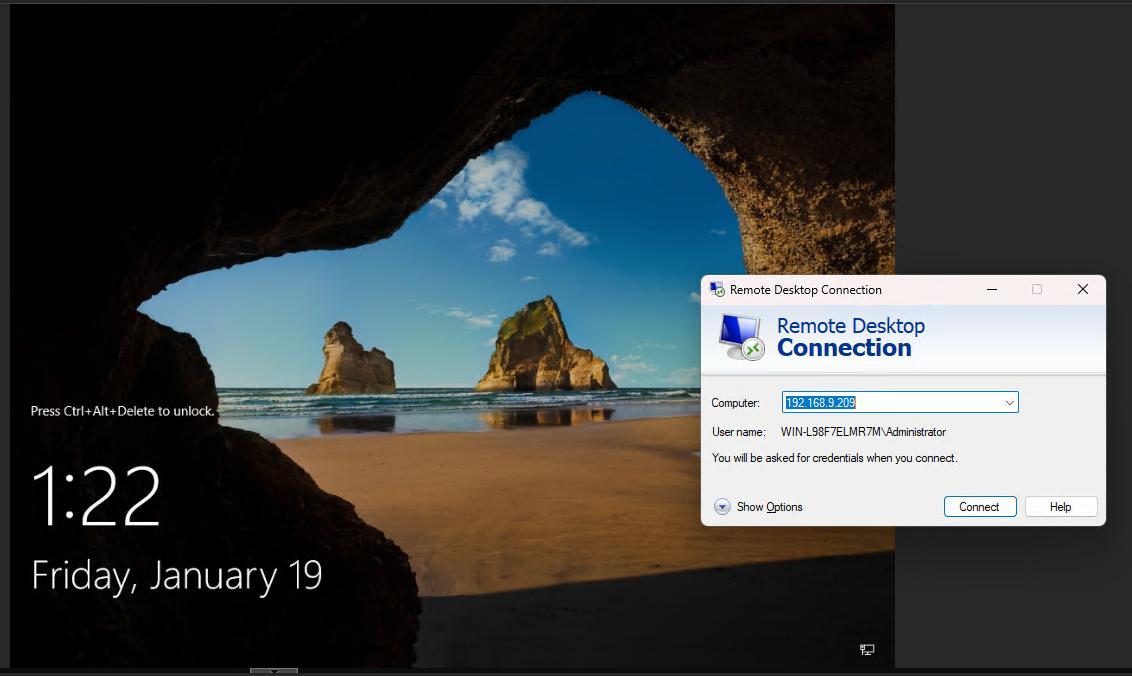
Now that the server is back online, let's RDP to it. Type the address noted earlier into the RDP client. Click "Connect"
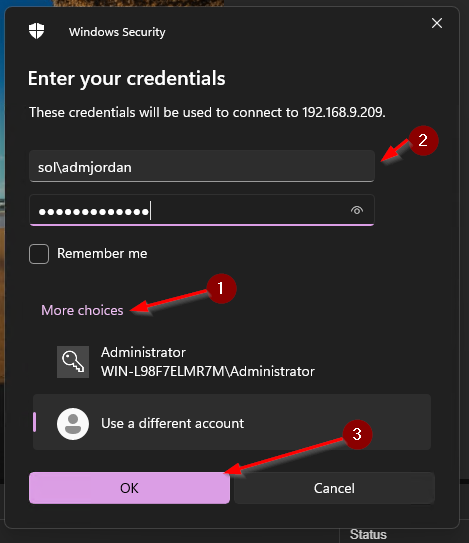
We'll need to change what credentials we are logging in with.
- Click "More Choices"
- Type in an account with RDP access to that server. My admjordan account is a domain administrator, so it can login via RDP.
- Click OK.
And just like that we have RDP'd to the server as our admin account.
That's all for this tutorial! Thank you for reading.


Comments ()