Installing Windows Server 2022 - Core Server (No GUI)

This guide covers installing Windows Server Core 2022 inside of Proxmox VE. Windows Server Core is a minimal image of Windows that does not ship with a graphical desktop UI. It takes up less disk space than the Desktop Experience. The code base is smaller too, meaning less attack surface as well. I've enjoyed learning how to better administer Windows Server via CLI and I think you will, too. If nothing else, knowing some shell commands seems impressive, right?
If you're interested in the Desktop Experience version of Windows Server, see my guide here:

Assumptions
This guide covers installation using the Proxmox VE hypervisor. This guide will still apply to general windows server installations. I will add notes on the steps that are not required if you aren't using Proxmox VE.

Creating the Virtual Machine
Since I'm using Proxmox VE, this portion covers the VM setup using that hypervisor. Please follow instructions for your specific use case.
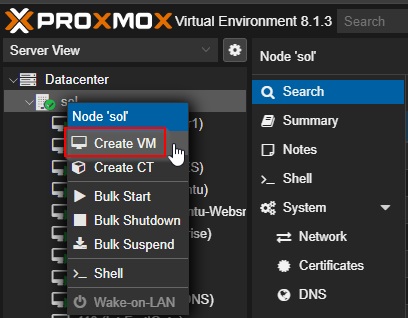
- Right click and select "Create VM"
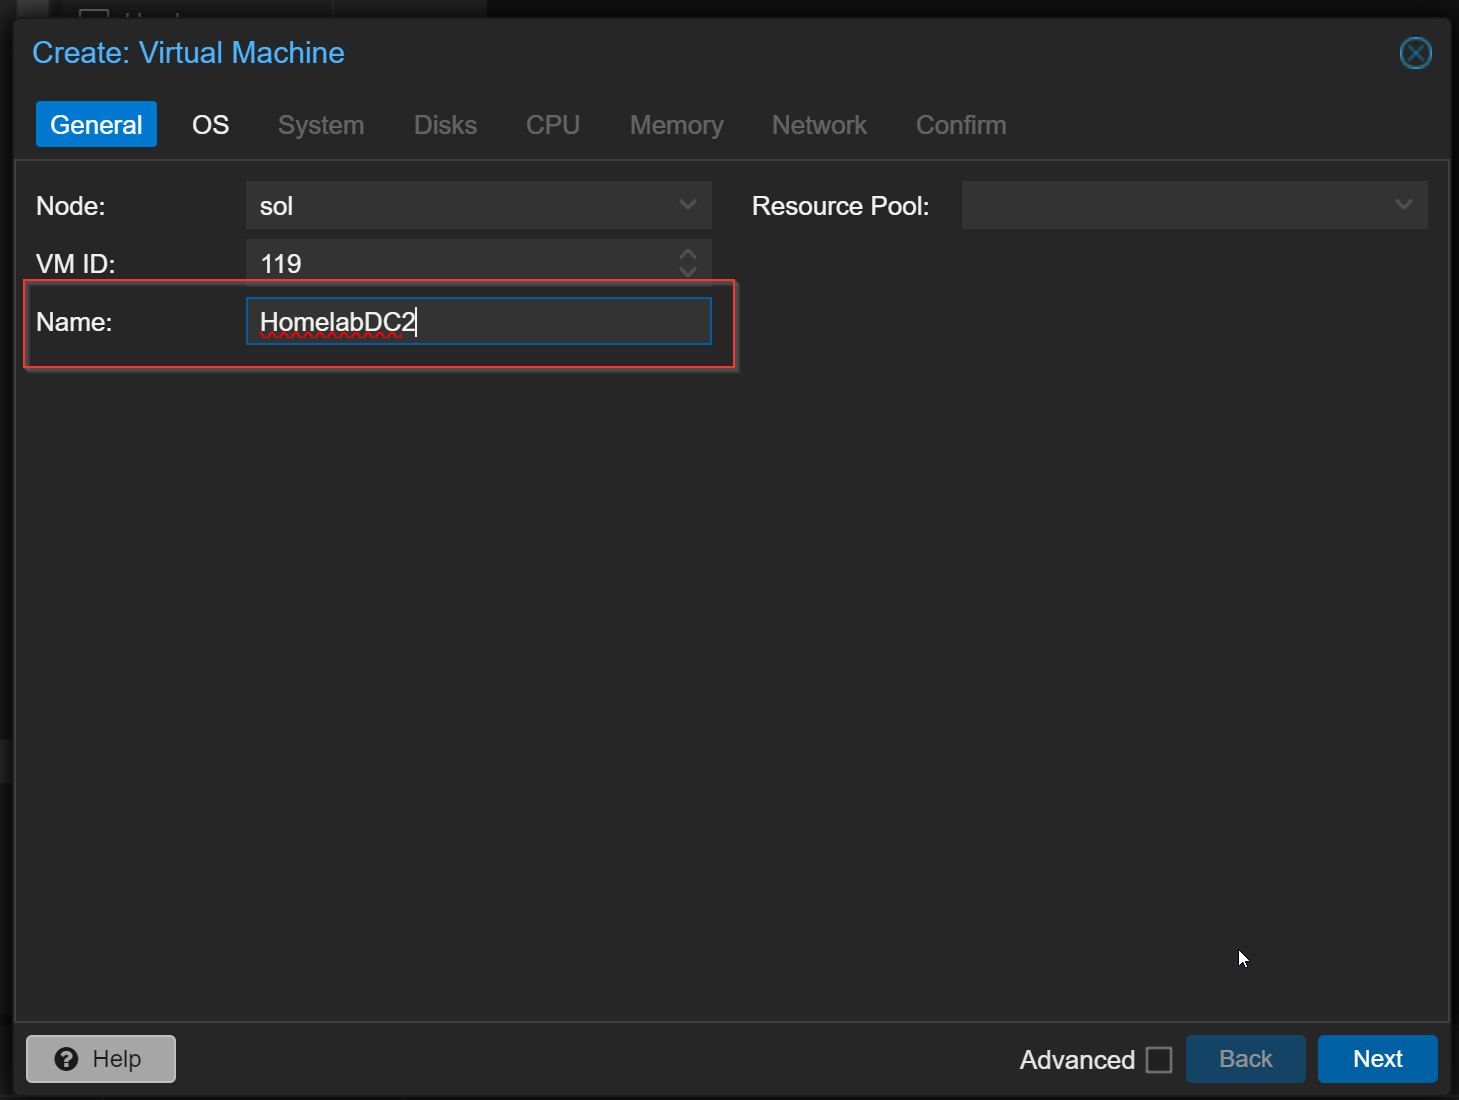
2. Name your VM. This can be whatever you like it to be.
3. We'll be installing Windows Server 2022, so we choose the ISO for that. 2. Choose "Microsoft Windows" as the type and "11/2022" as the version. We'll want to use the VirtIO drives, so check the box next to "Add addtional drive for VirtIO drivers". 4. Select the ISO image of the virtio drivers.

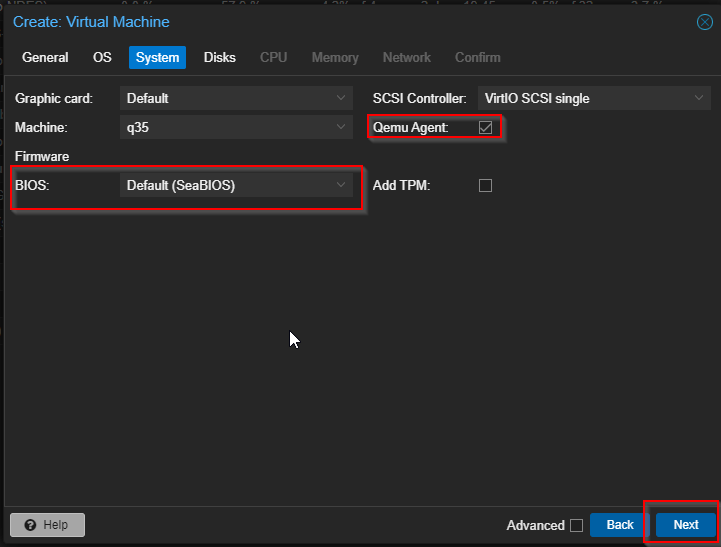
4. Set your settings to how you see them below. (Note that these work well for me. If you have another way you set them, go for it.)
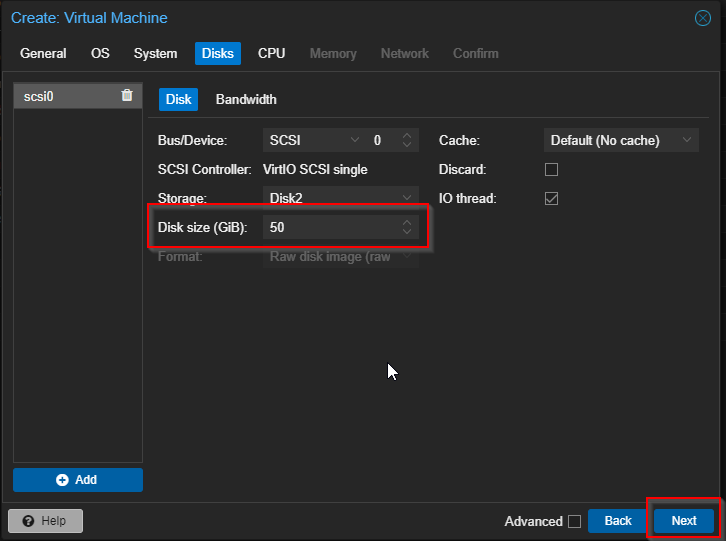
5. Choose your disk and size. I bumped up the storage to 50 GB on this VM.
6. Choose the number of CPU cores. Choose the type "host".

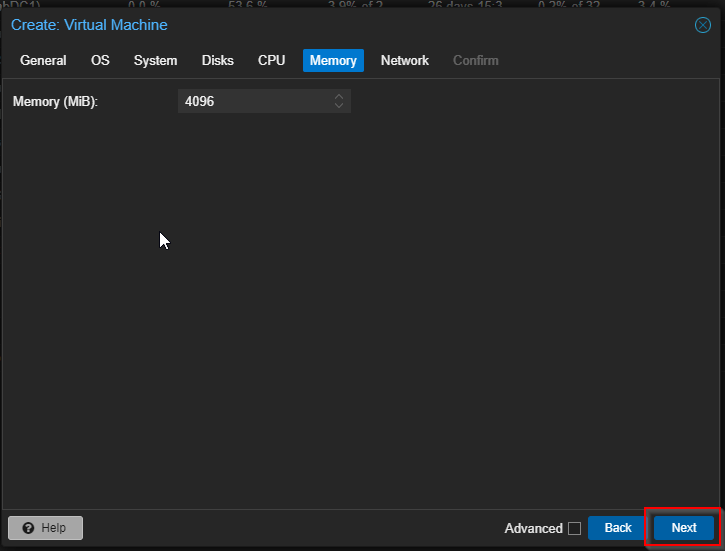
7. Select how much RAM you'd like (in Megabytes).
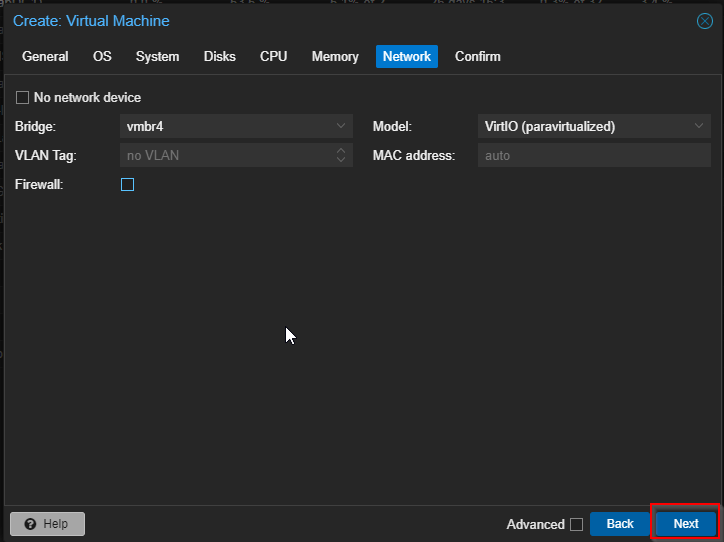
8. Select the network your VM should run on.
Double check your VM settings and make sure they are correct. When you are satisfied, choose "Finished".
9. Now turn on the VM by choosing "Start Now"

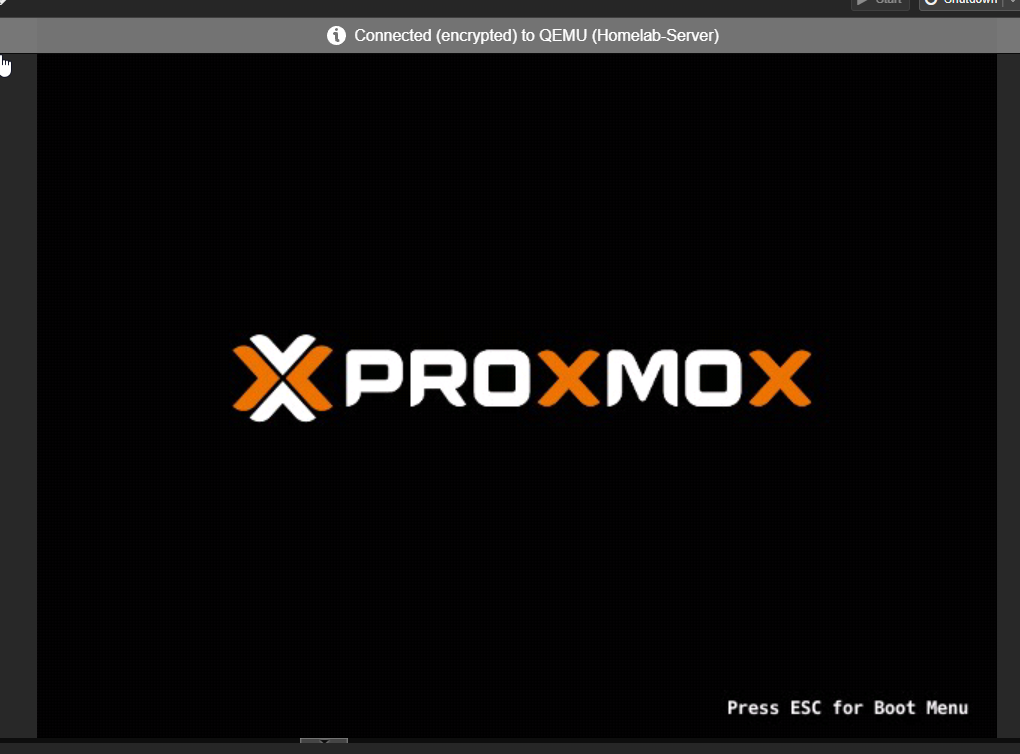
10. Your VM begins to boot! Please continue below for the rest of the Windows Server 2022 installation.
Installing Windows Server 2022
Once your VM is started, a loading screen will appear. If this does not appear, be sure to check your VMs boot disk order.

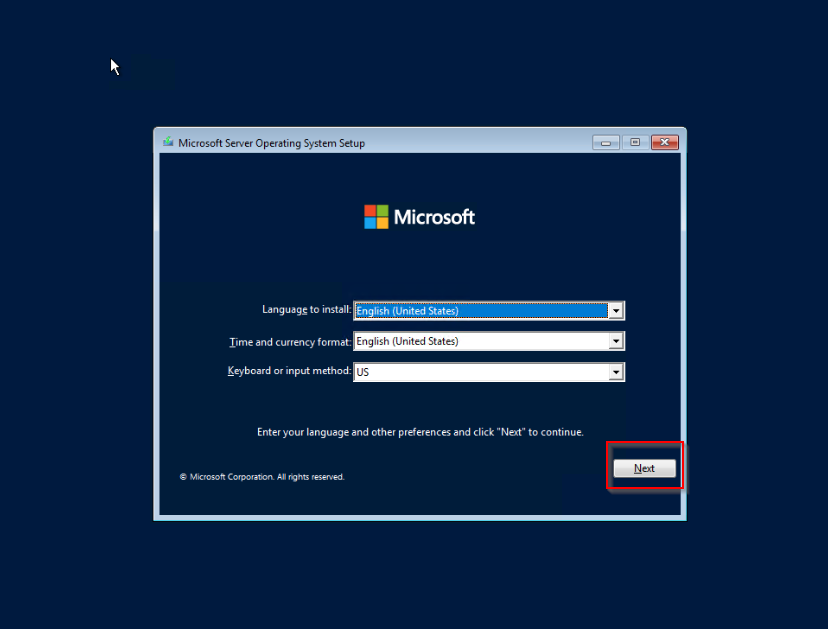
Next, select your language, time and currency format, and keyboard if desired. Hit "Next"
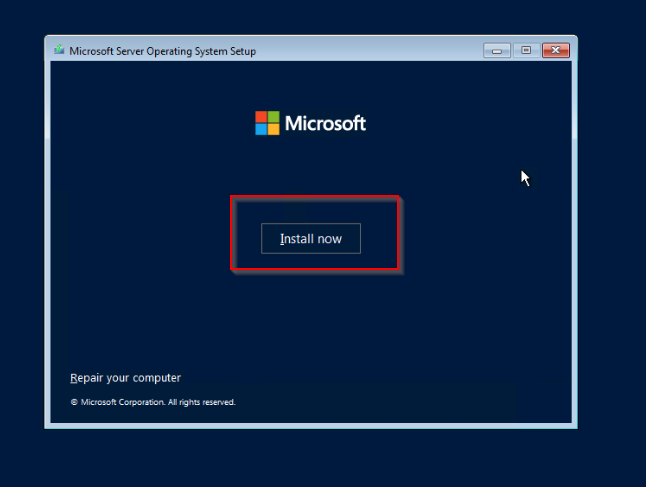
Click "Install Now"
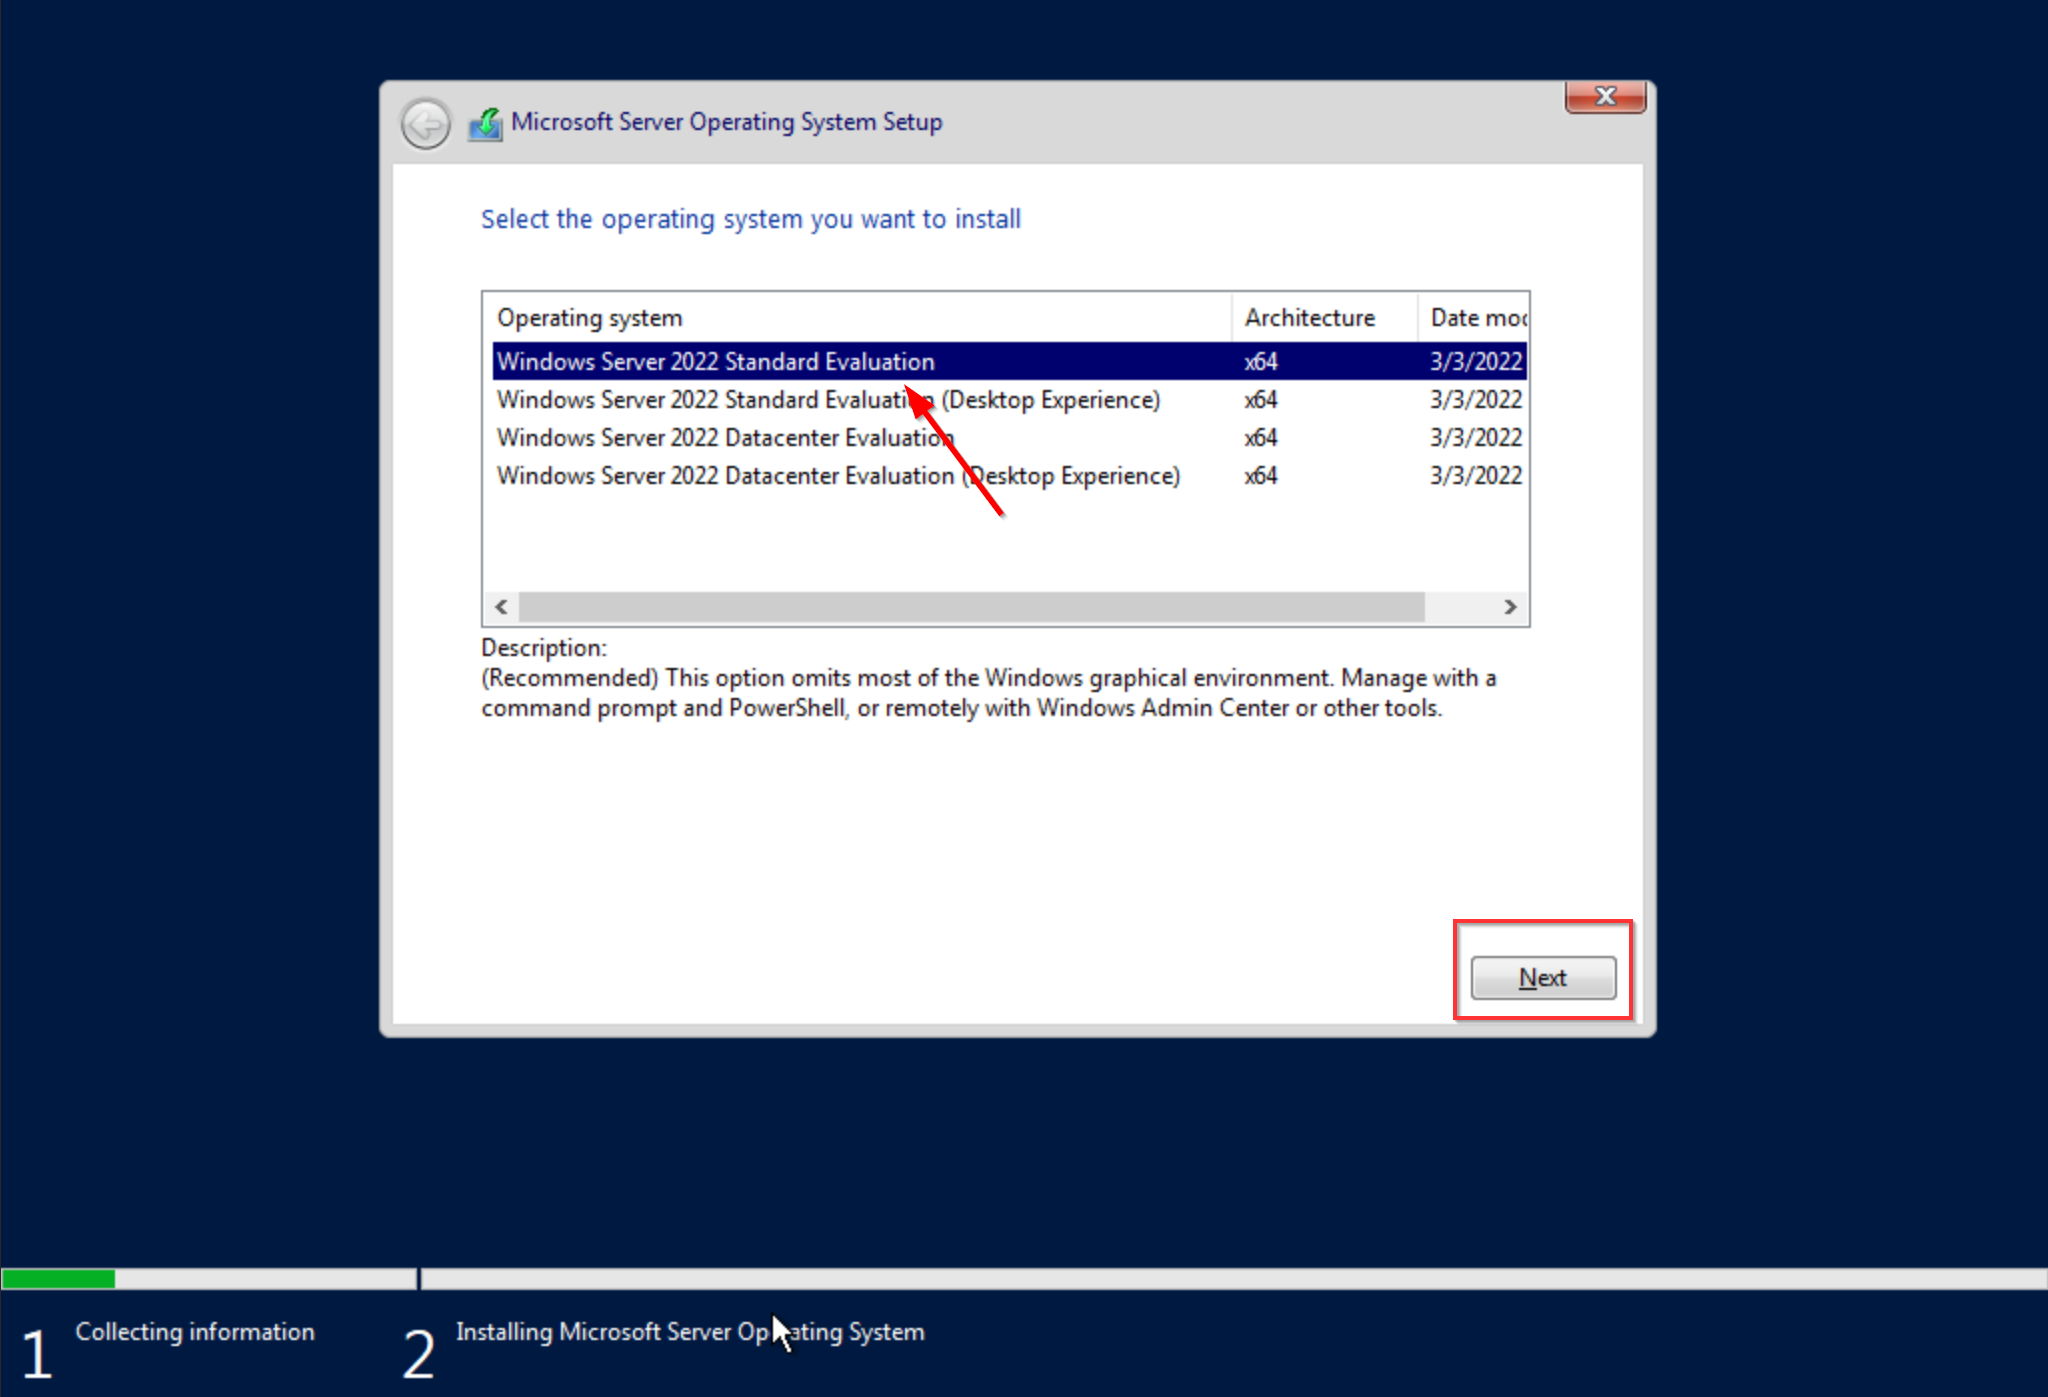
For this guide, we are installing Windows Server 2022 Standard Evaluation (Desktop Experience). Please see [insert link here] for a guide on installing Windows Server Core.
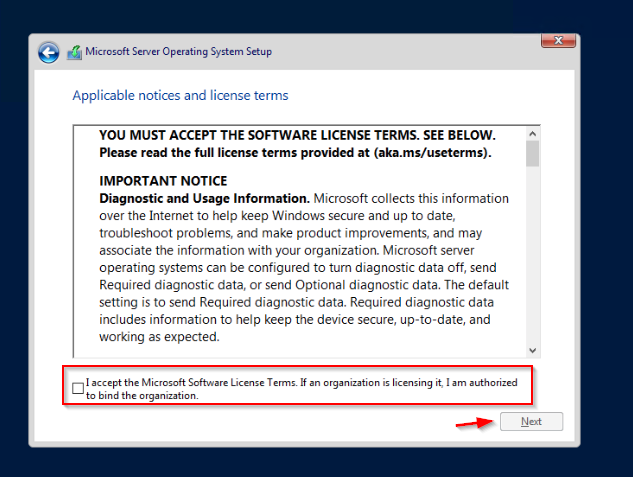
Accept the Eula and click "Next"
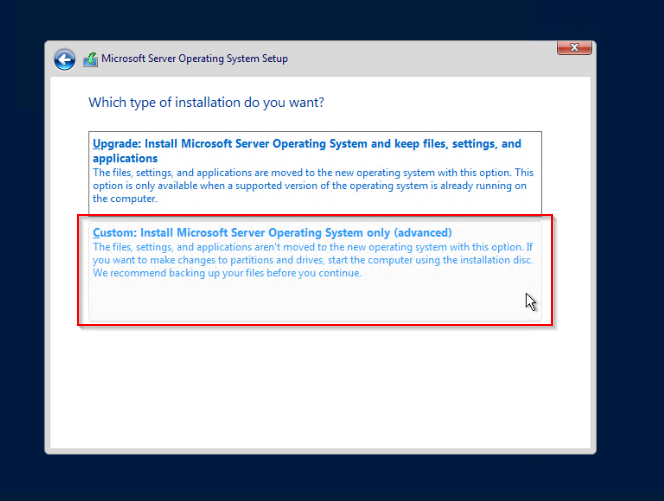
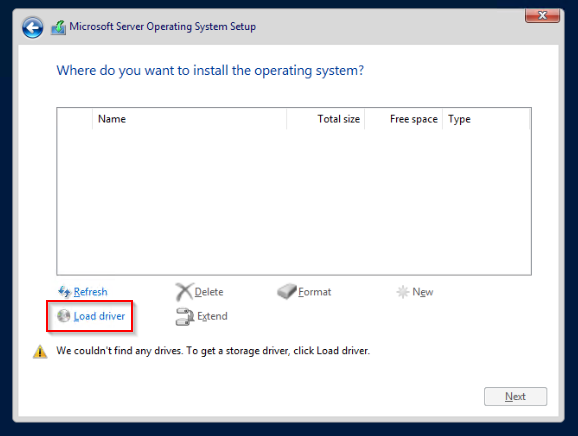
Choose "Custom: Install Microsoft Server Operating System only (advanced)"
This is a section that may not be necessary for your installation. This is necessary for the way we set up the VM in Proxmox VE. The reason why is because we chose a disk type during the VM setup that needs drivers to work. We included the driver disk during setup, so we can access it now.
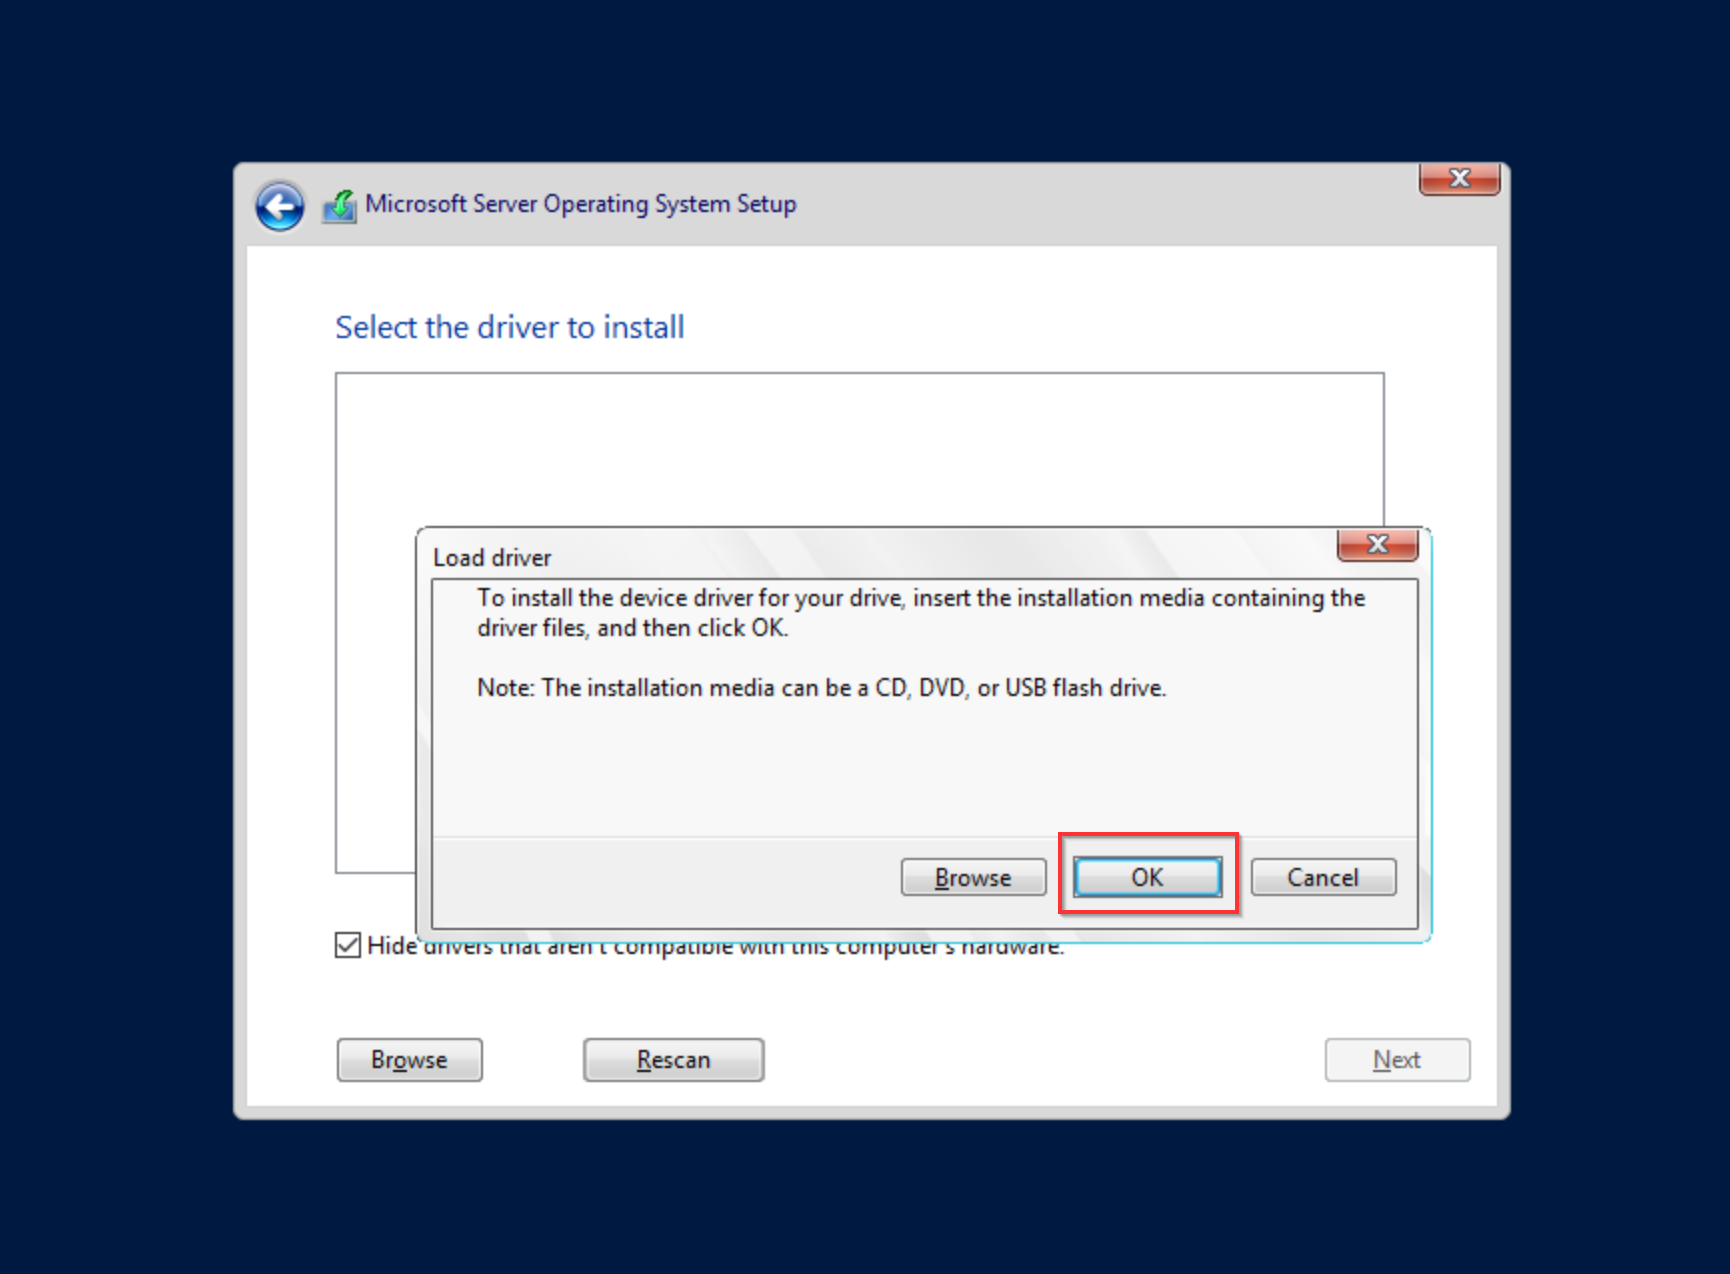
Select "Load driver"
Click "OK"
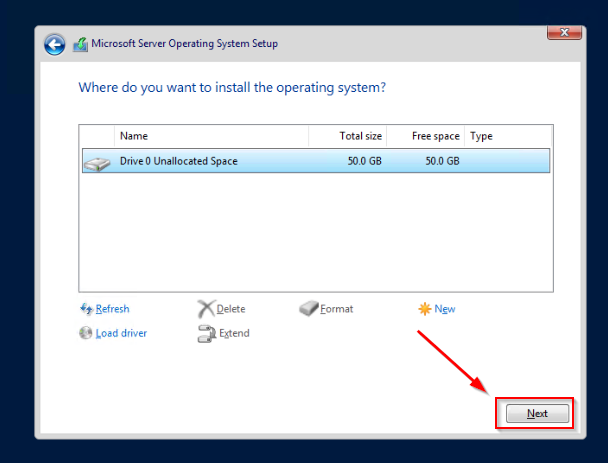
The available SCSI pass-through controllers will come up. Select the one that has 2k22 in the path. If they don't load, click "Rescan". Once you have it highlighted, click "Next".

Click "Next" once the drive appears. You may need to click "Refresh" if it doesn't appear automatically.
That's it! The installation has begun.
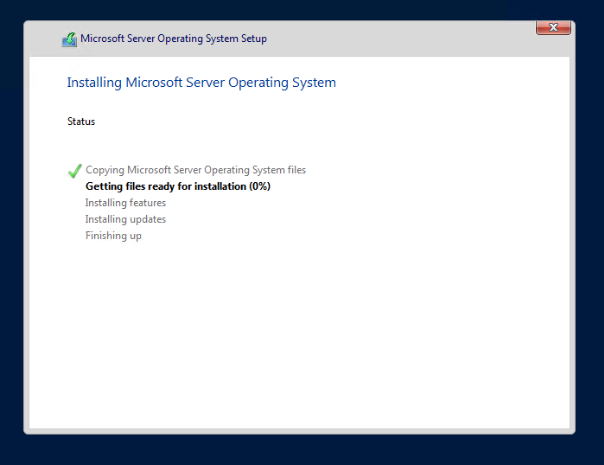
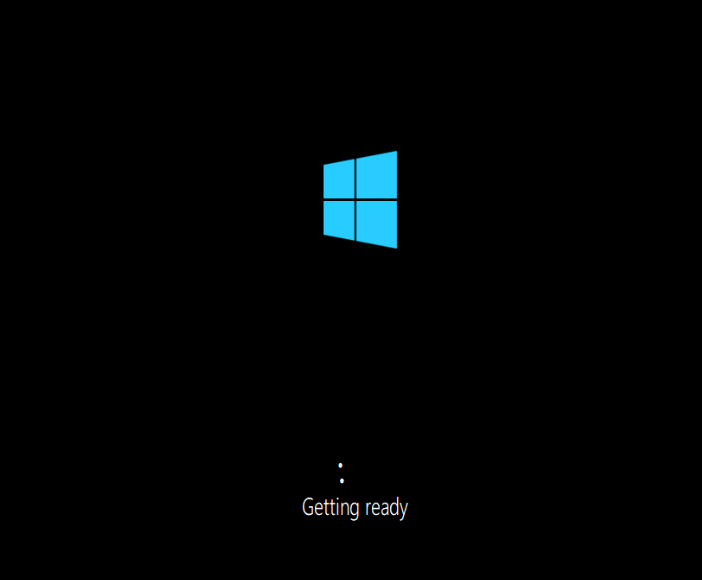
This step can take some time. Once it completes it will reboot. You can tell that Windows Server is booting correctly when you see this screen.
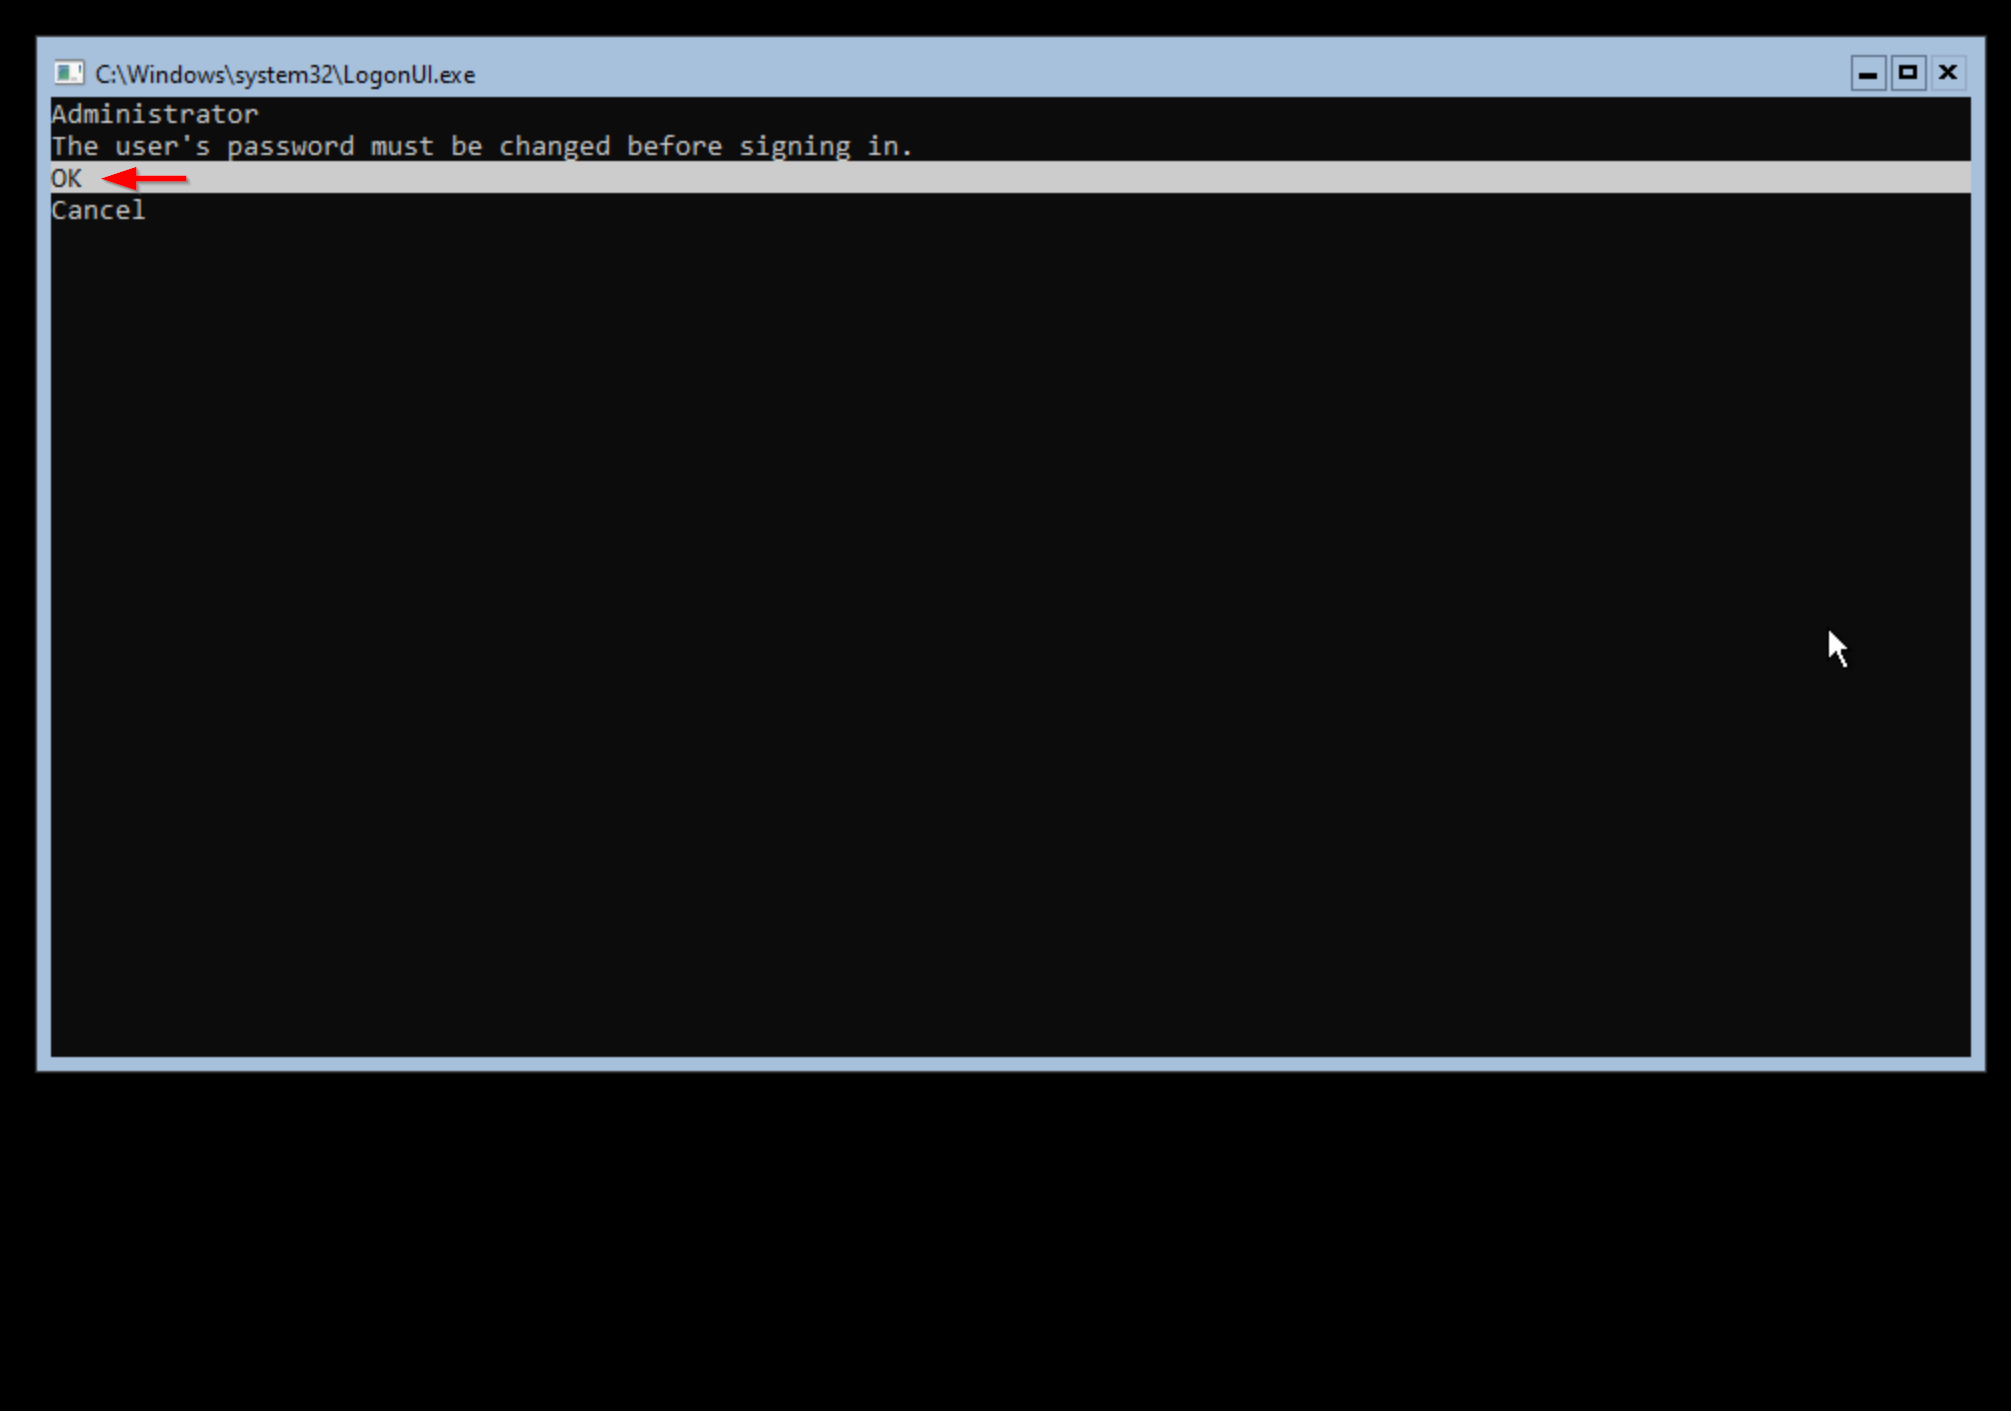
After some time loading, you will be prompted for a password for the local administrator account. Highlight OK and hit enter.
Enter your admin password. Hit the tab key to go to the next line. Confirm your password.
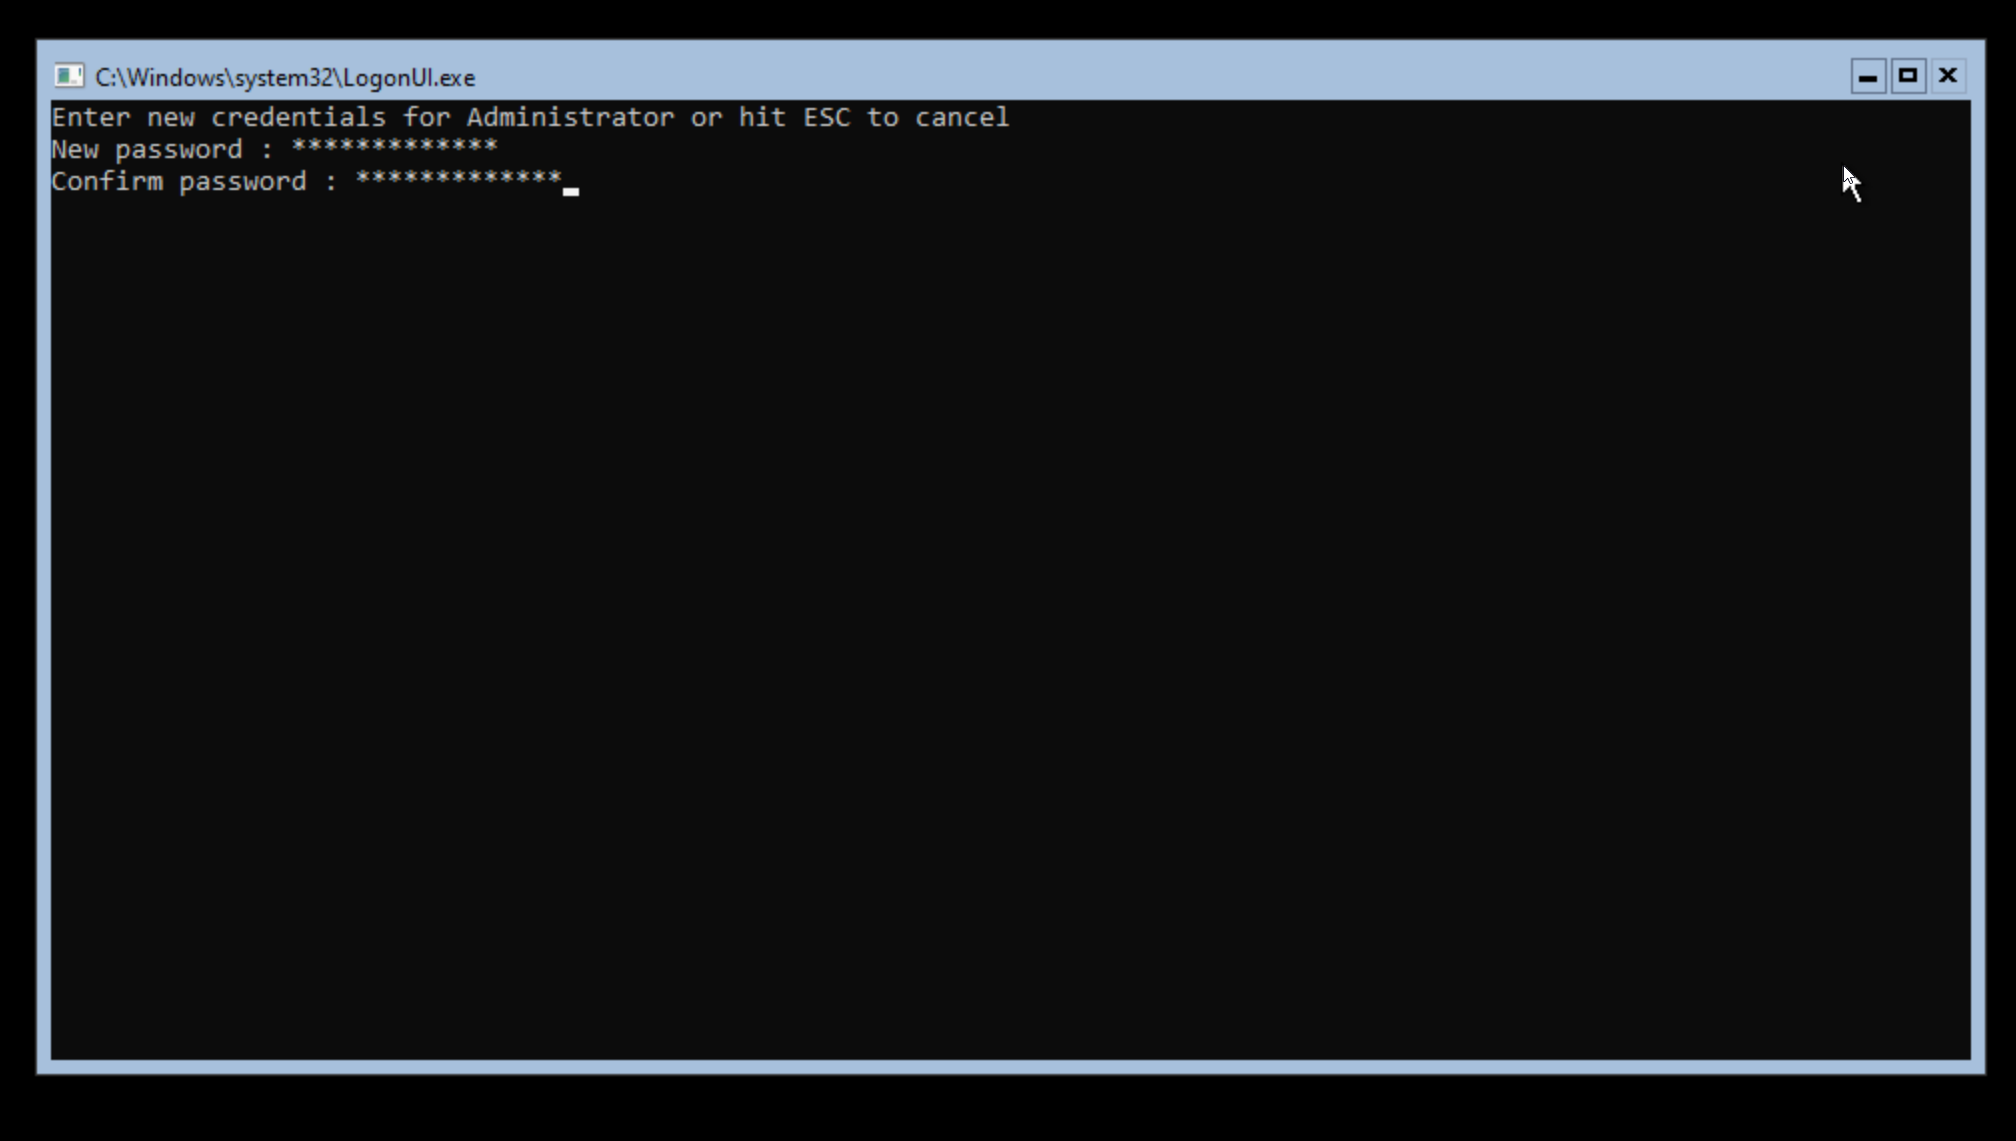
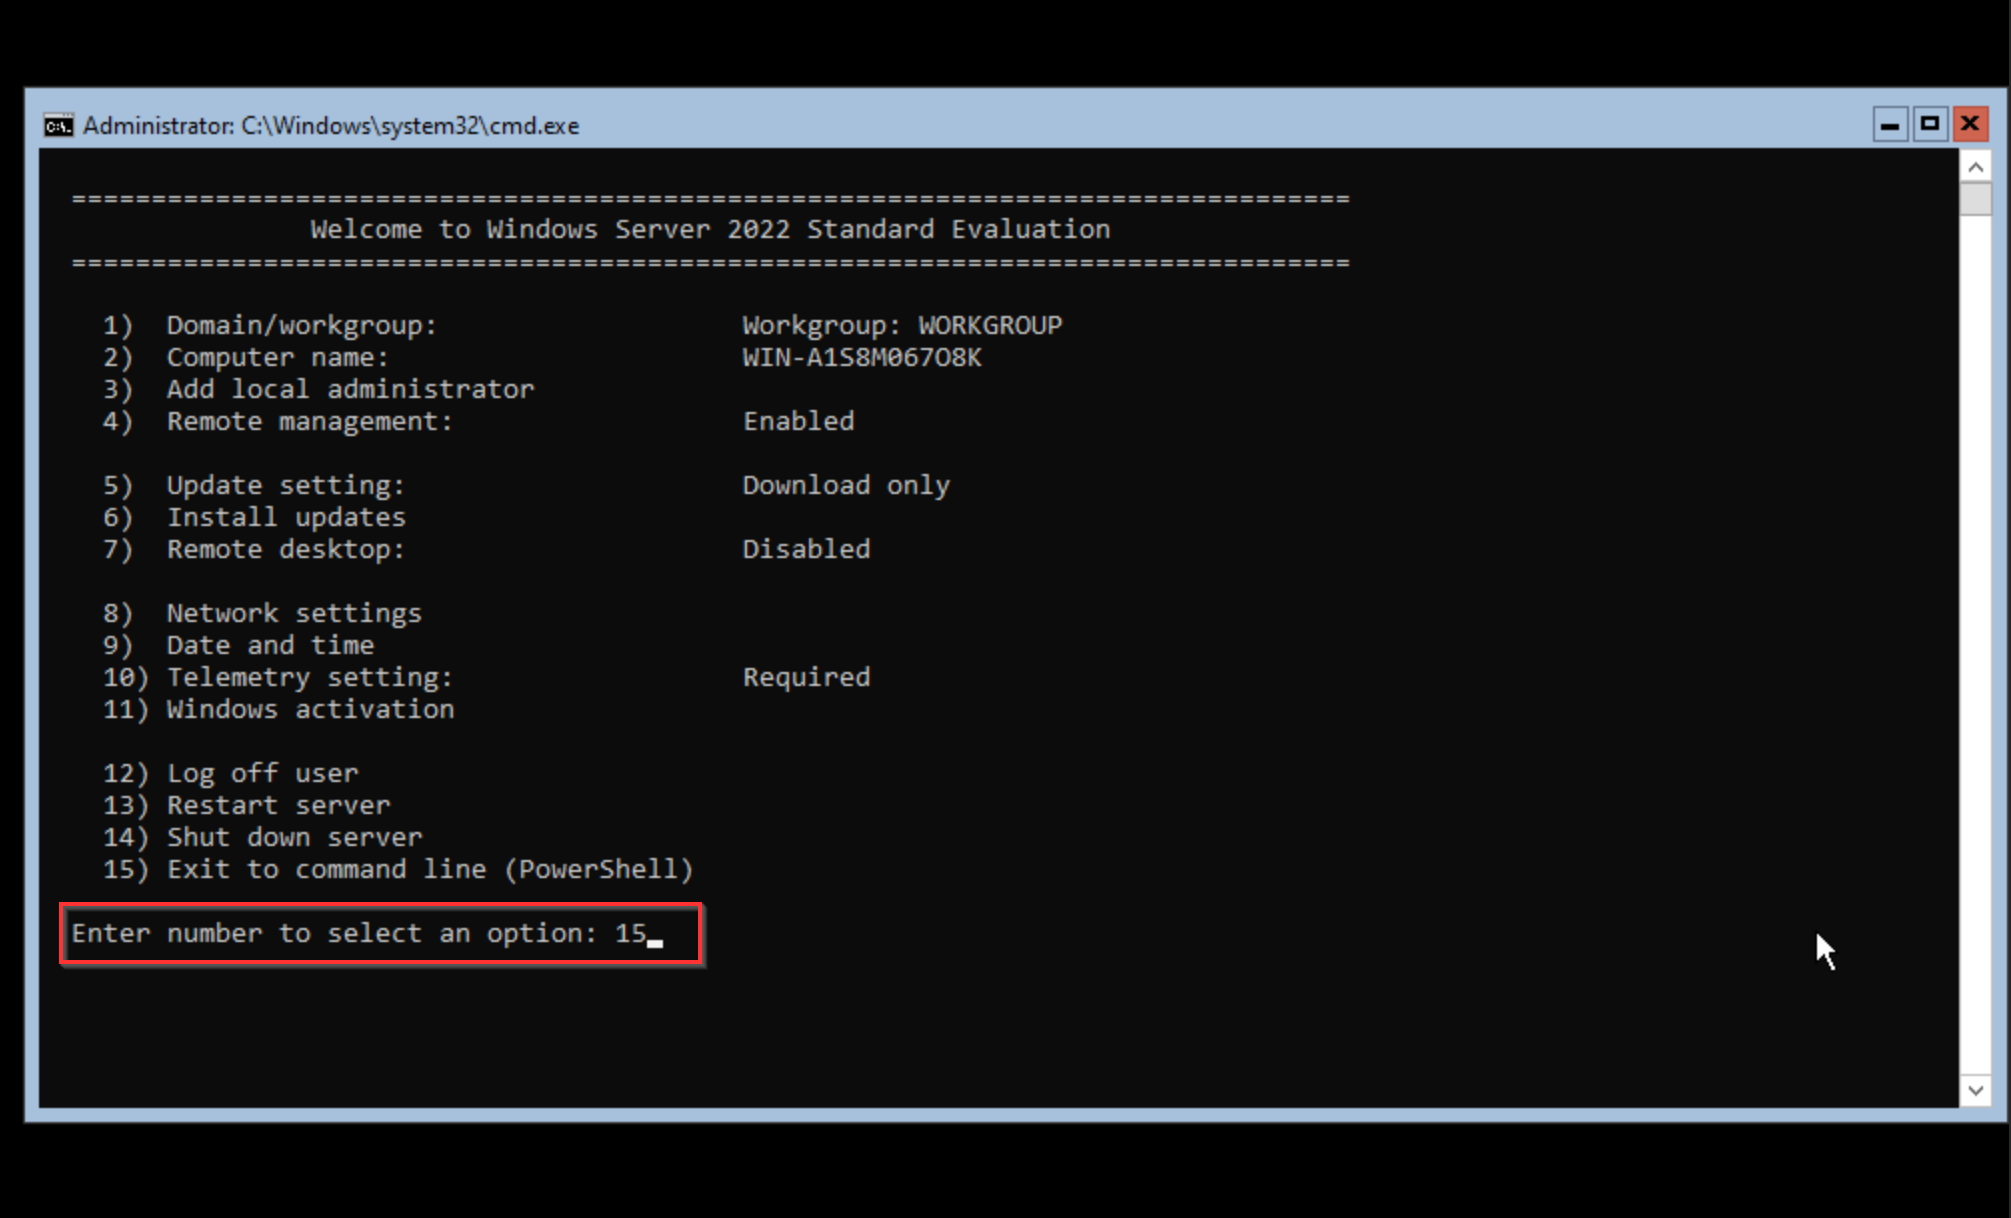
Hit enter through all of the following dialogs. It will then enter into the configuration mode. "SConfig".
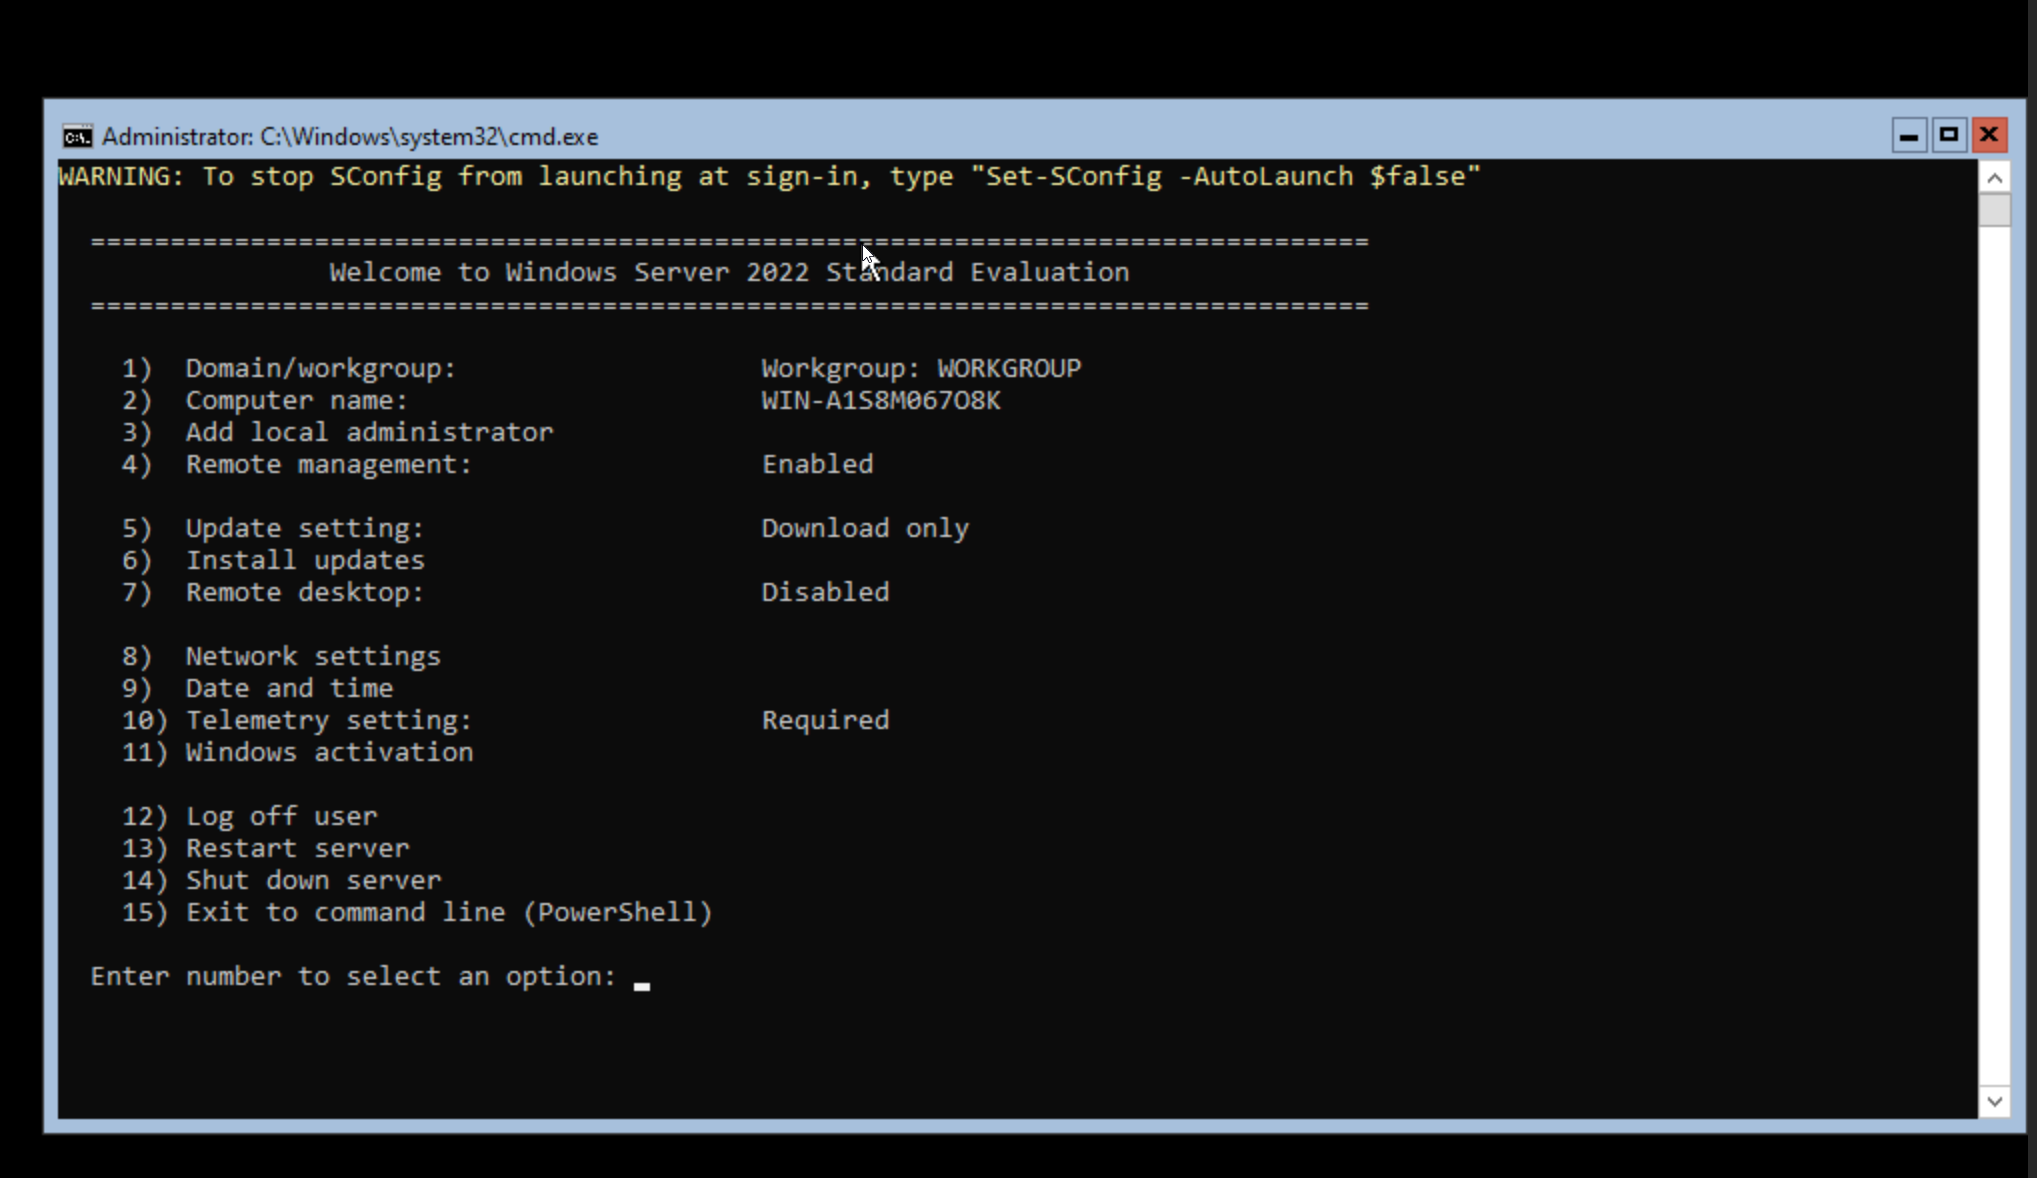
SConfig will be where you manage a lot of the settings of the server from. I really like it for the basics.
Now we're back at the SConfig menu. If we hit "8" right now to edit the network settings, you'll find that there is no NIC. This is because we don't have any of the VirtIO drivers installed. Let's do that now.
Installing VirtIO Drivers and QEMU Guest Agent
Type "15" and hit enter to leave SConfig and enter a Powershell window.
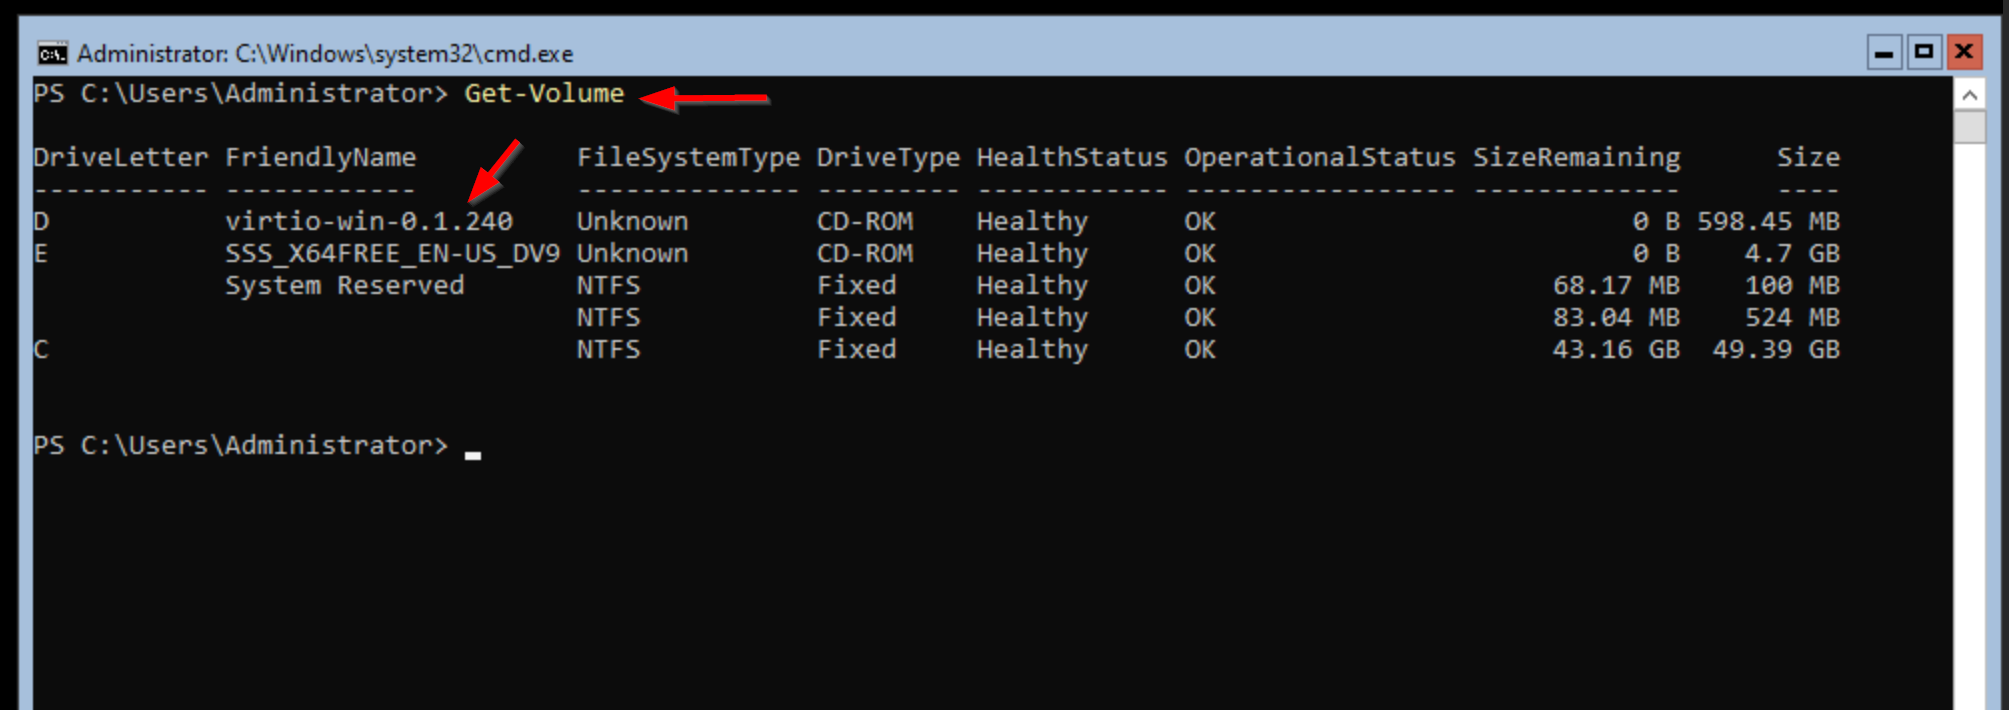
Issue the following command
Get-Volume
This should list all the volumes on the system. We are interested in the volume that is labeled "virtio-win-x.x.xxx". This volume contains the drivers we need.
In this example, the virtio drivers on the "D" drive.
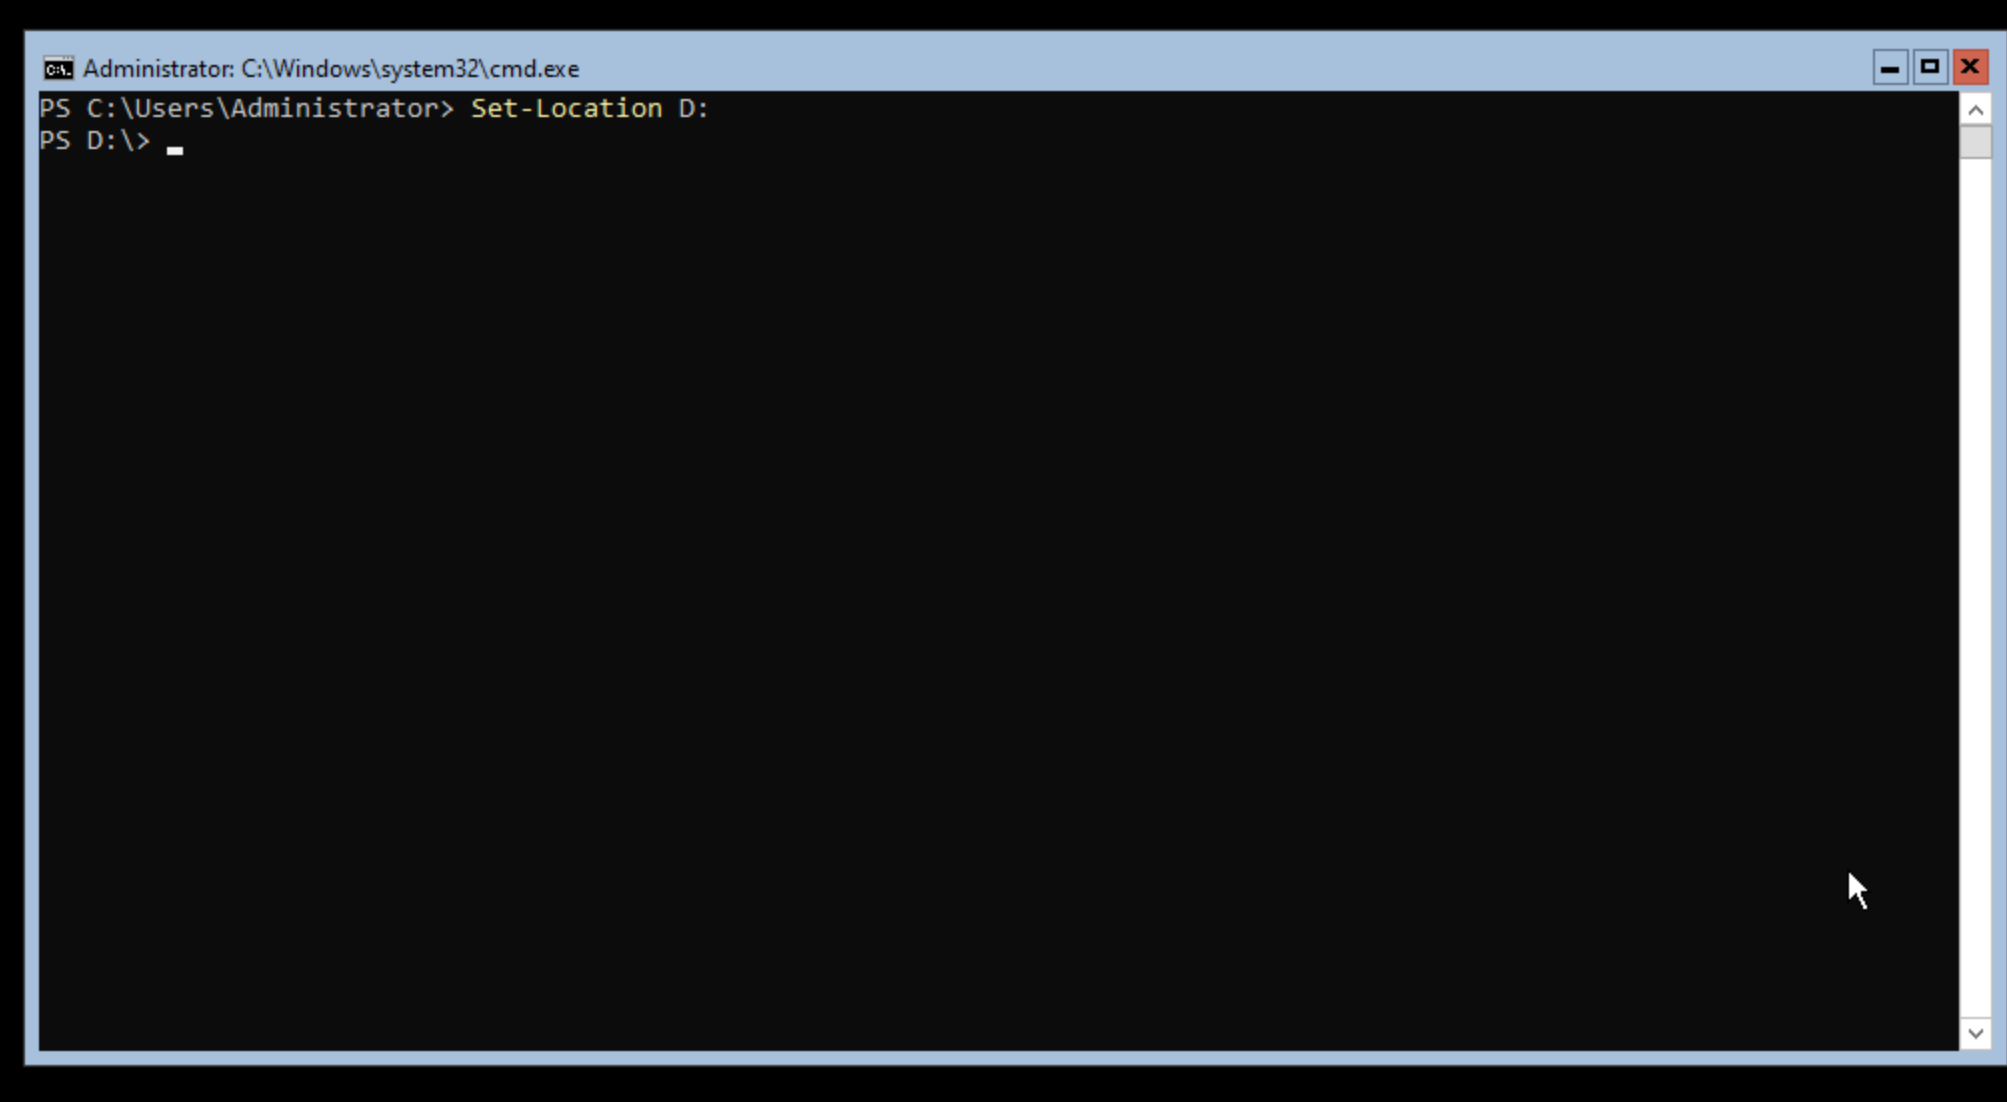
Issue the following command to change our location to the D drive.
Note that if yours is on a different drive letter, adjust the command accordingly
Set-Location D:
If successful, you'll see the drive next to the cursor change to PS D:\>
Now that we're on the D: drive, issue the following command to look at its contents.
ls
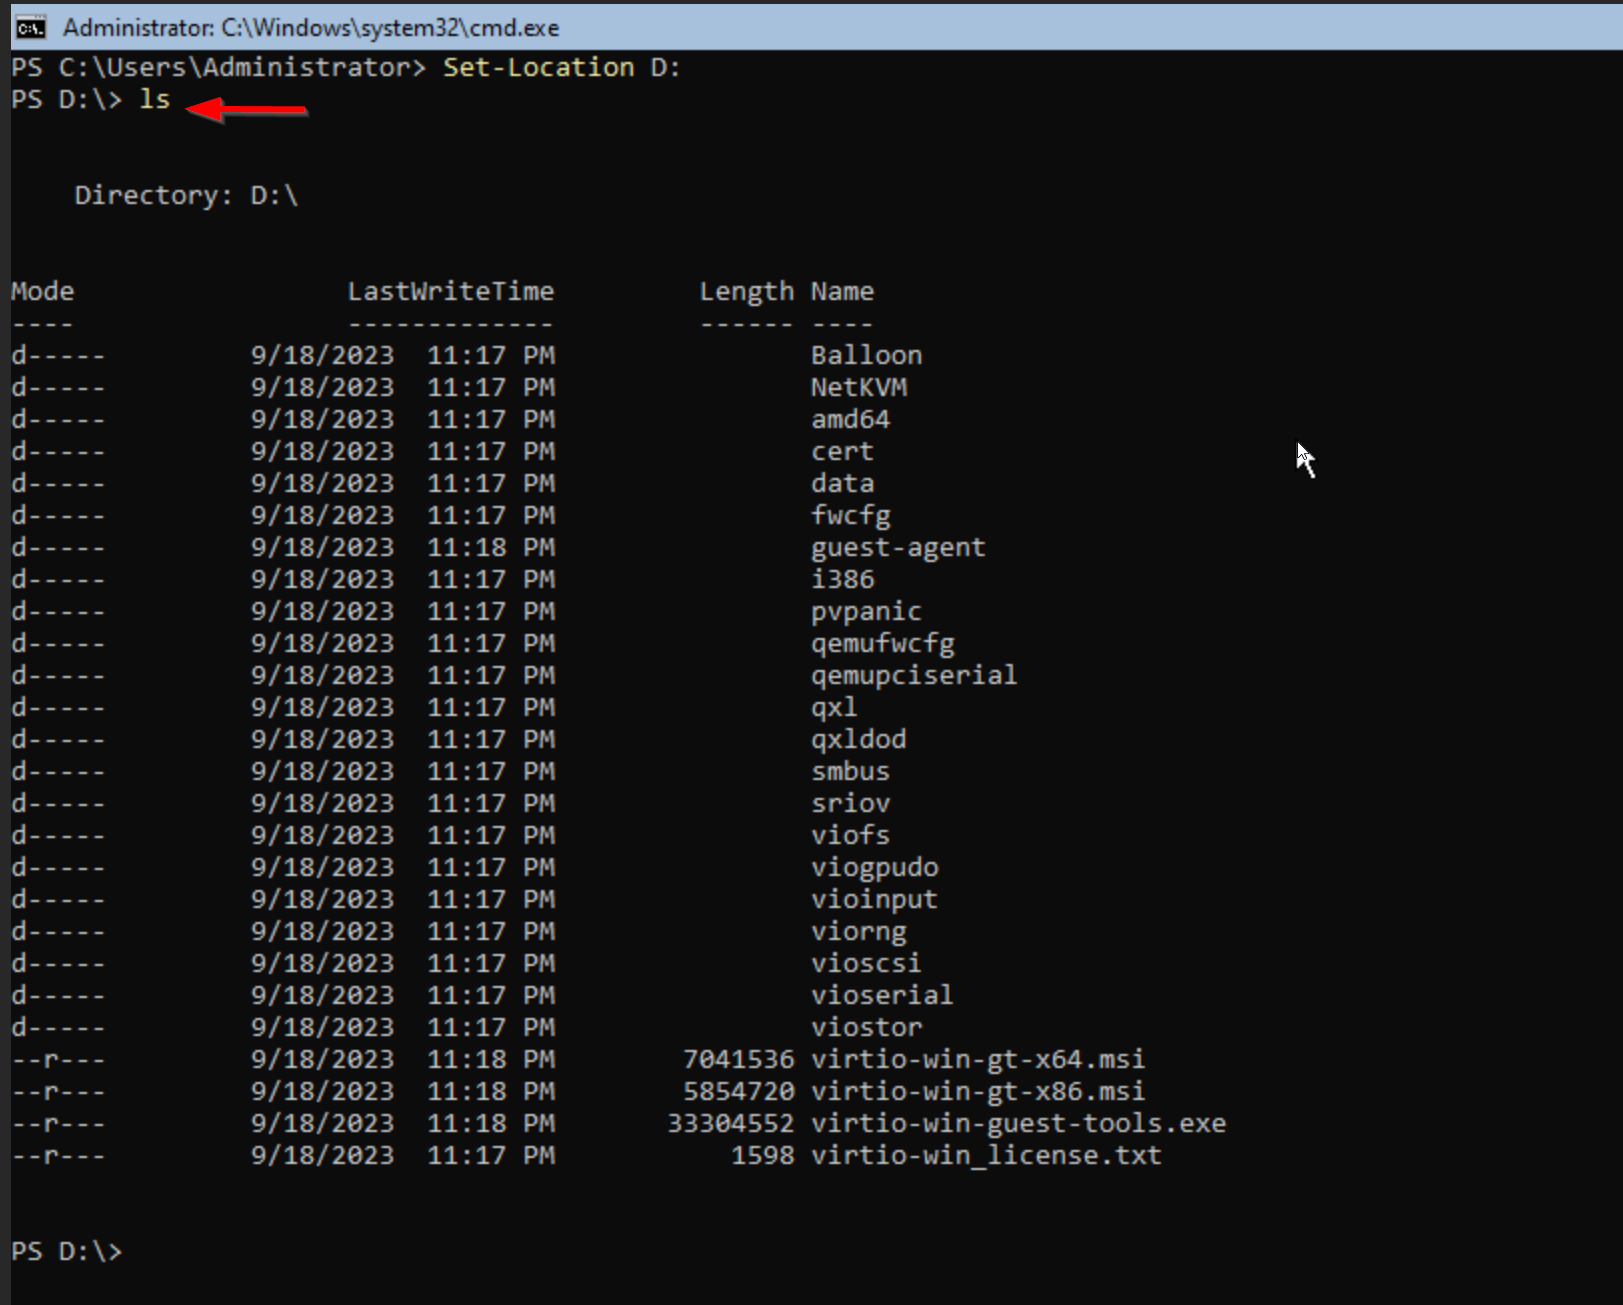
Now that we can see everything listed in the directory, we can get an idea of what we need to install. We are interested in the "virtio-win-gt-x64.msi" file.
Installing VirtIO Drivers
Use the following command to start the installation.
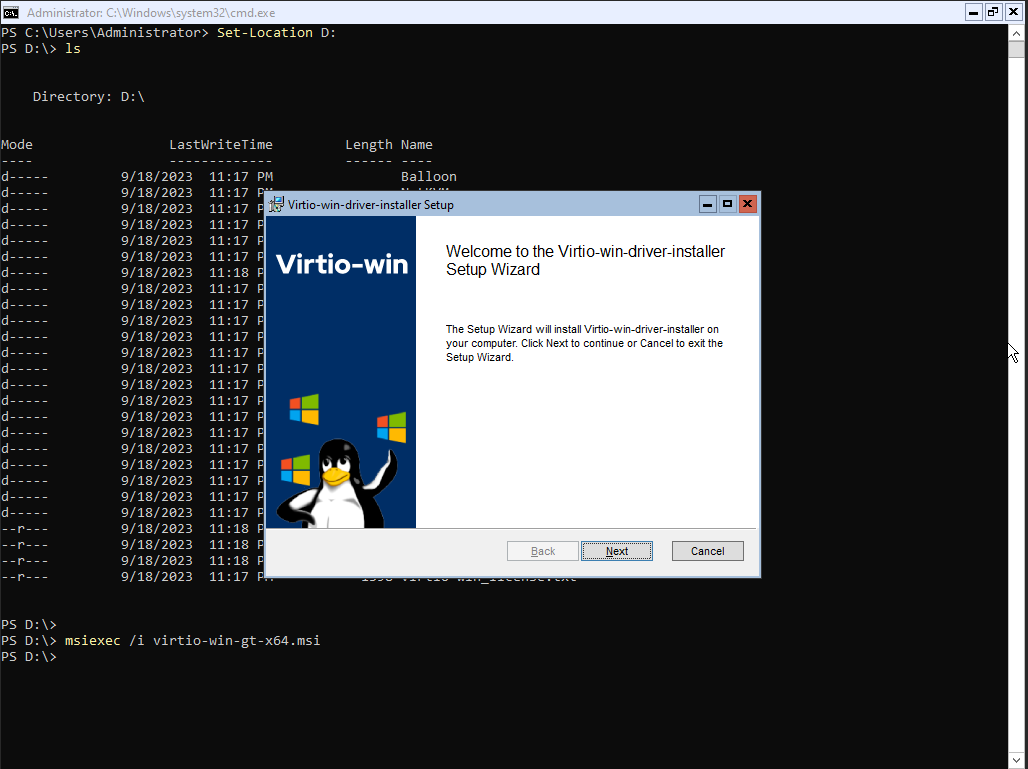
msiexec /i virtio-win-gt-x64.msi
You'll should see the installation GUI pop up. Pretty neat that we can still have separate windows on a Core server installation, right?
Click "Next" to continue.
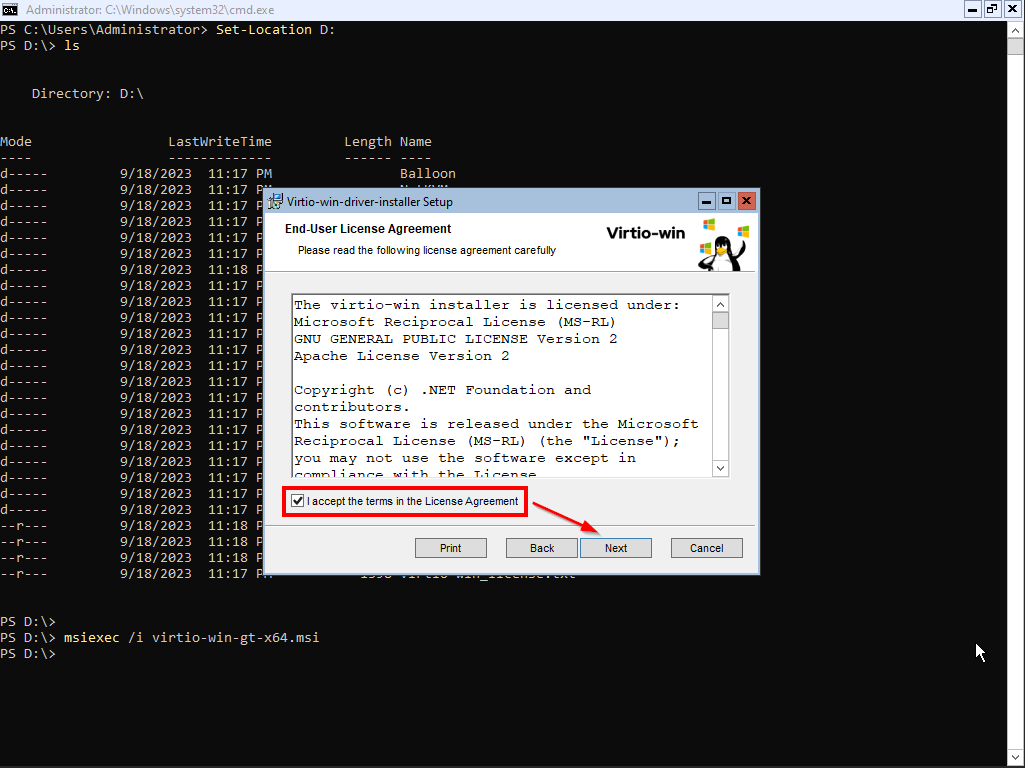
Accept the license agreement and click "Next"
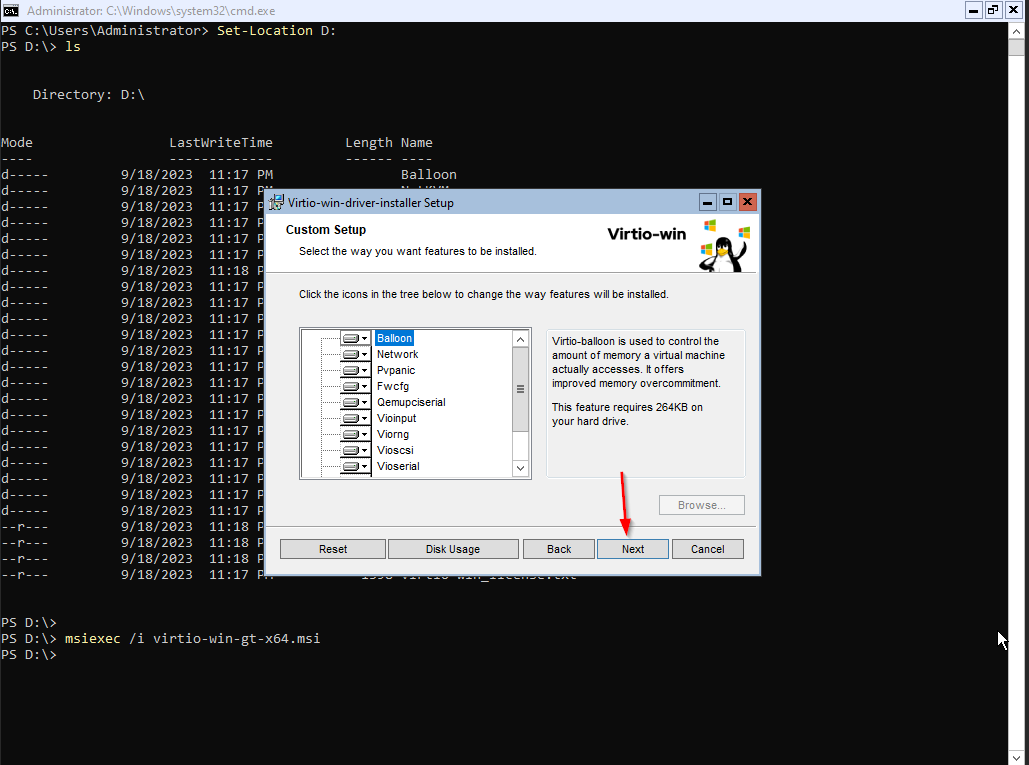
We will install everything on this screen, so just click "Next".
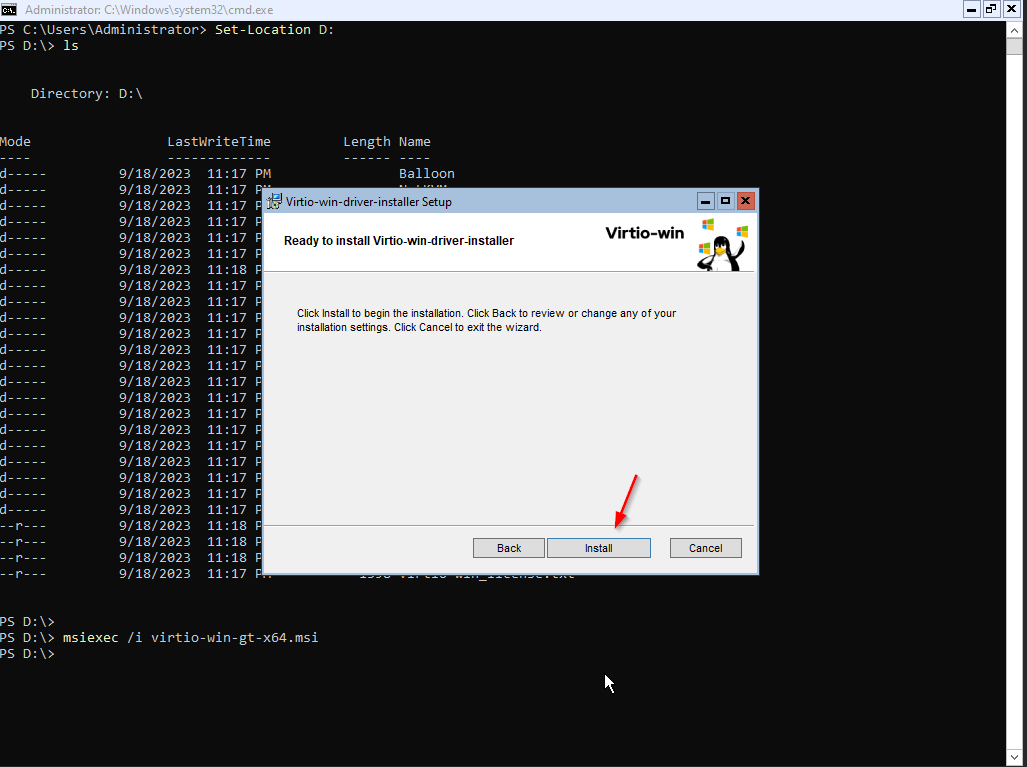
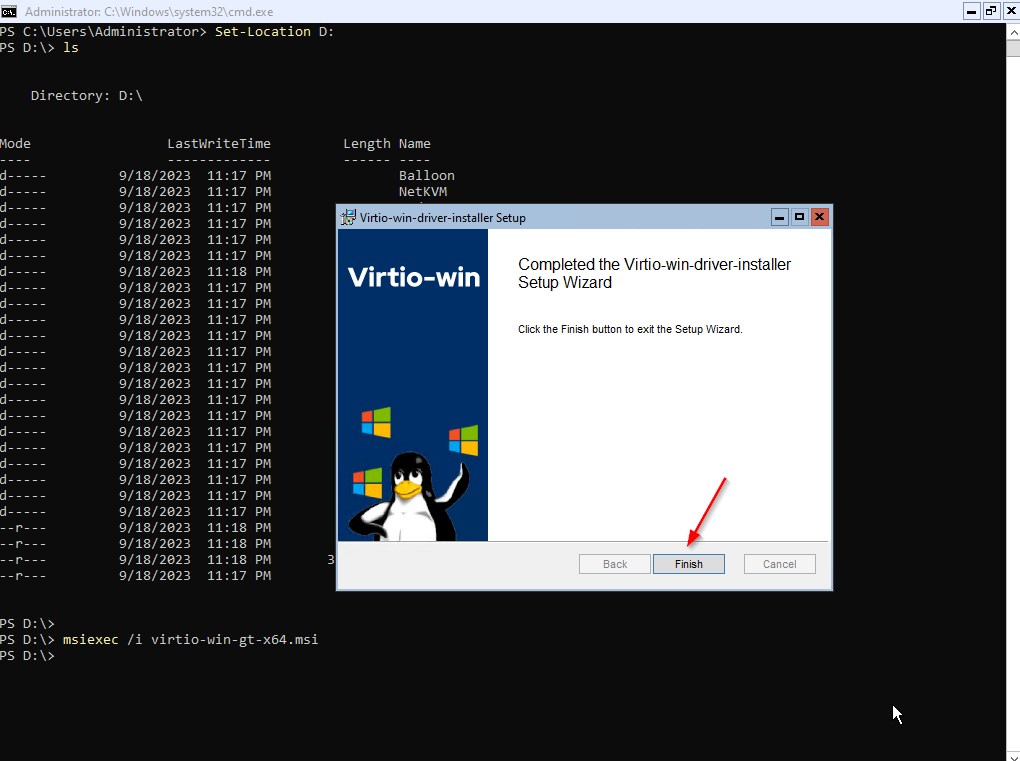
Finally, click "Install"
The install will finish, click "Finish"
While we are here, we will install the QEMU Guest agent.
cd guest-agent
This command will change our directory to the guest agent directory.
After you change directories, issue the ls command again to view what is in there.
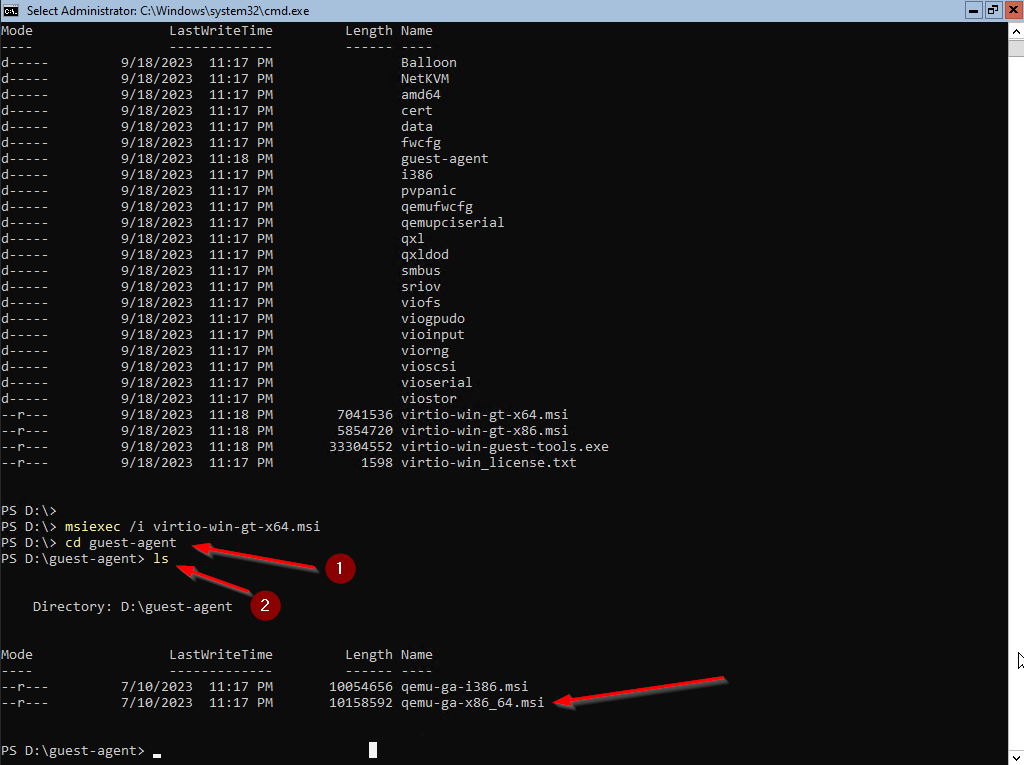
We can see two files in there, and the one we want to install is qemu-ga-x86_64.msi. To install it, we'll issue the same command as above when installing the Virtio drivers.
msiexec /i qemu-ga-x86_64.msi
This time, the MSI will install with no interaction required by you. Now we are done with installing the Virtio drivers. Let's head back to SConfig to continue setting up our server.
Configure the Network Settings
To get back to the configuration menu, type the following:
sconfig
And hit enter.
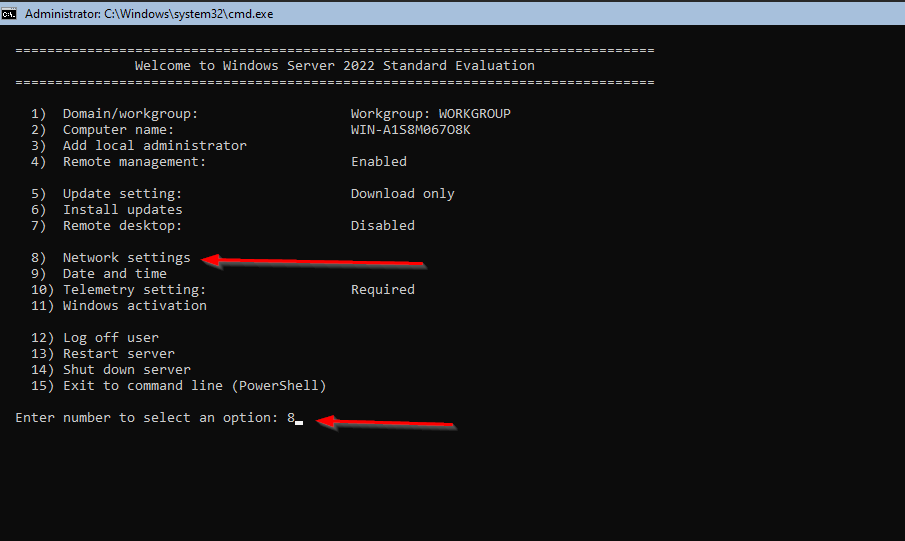
Once back in the menu, type "8" and hit enter. This will open the network settings page.
As you can see now, we have a NIC and an IP address via DHCP!
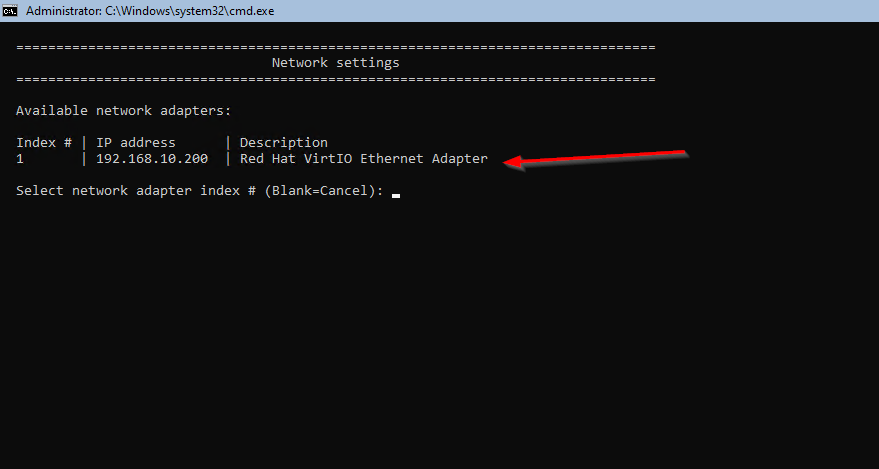
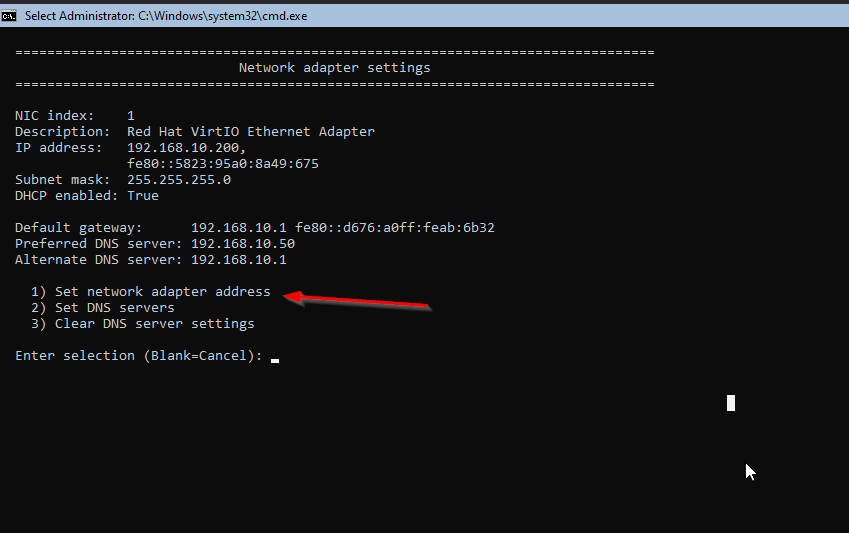
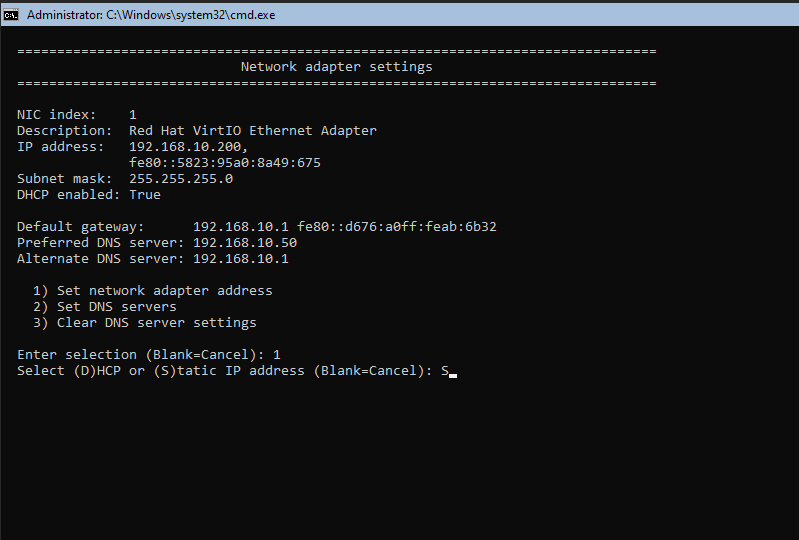
Let's manually configure the IP. Type "1" and hit enter. Note that your interface index may not be "1". You'll now be in the network adapter settings configuration menu. Type "1" to set the settings manually.
Type "S" for static address.
Now you can configure your network address however you like. I'm making mine 192.168.10.55. Also make sure you set the subnet mask and default gateway properly.
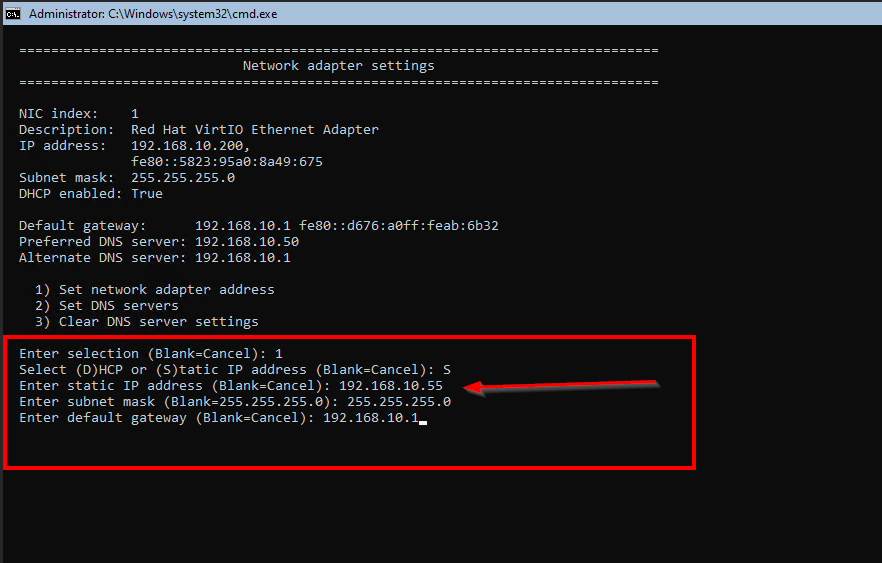
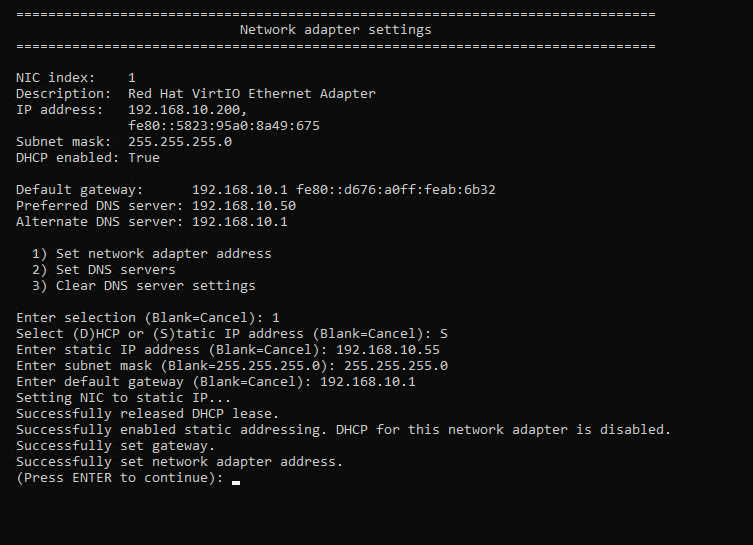
Once you are satisfied, hit enter and it will configure your NIC.
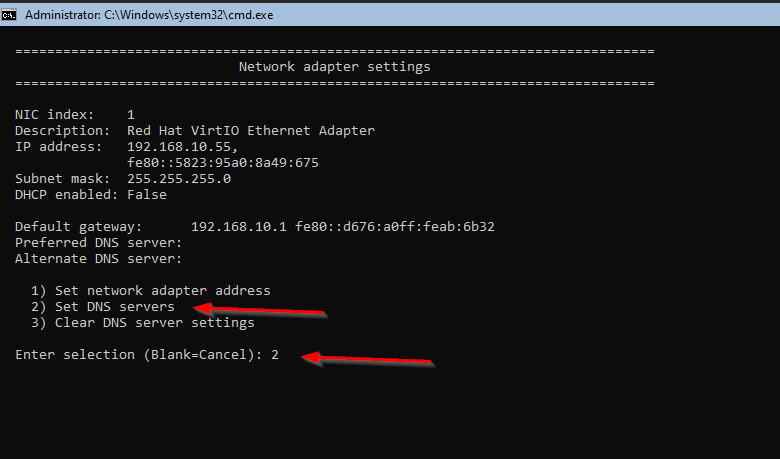
Now we need to go back in and set our DNS servers. You'll be back on the main menu, so type "8" and hit Enter. Select the same interface as before and hit "Enter".
Now, type "2" to add your DNS servers.
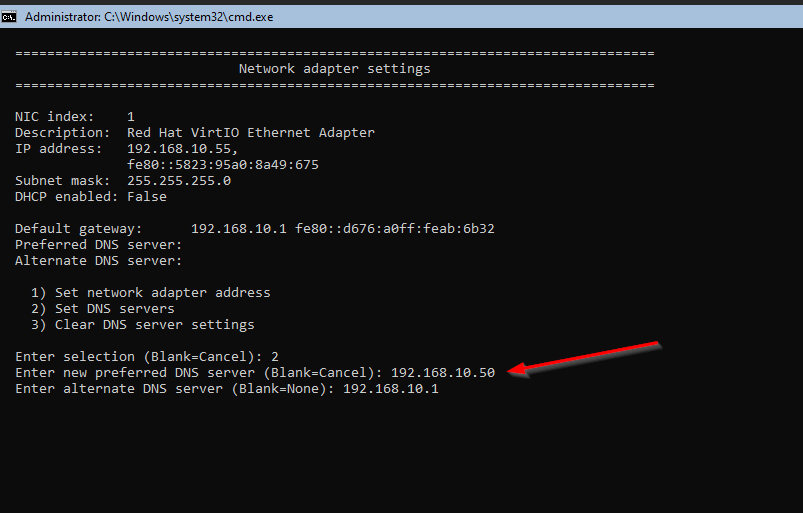
My domain controller is at 192.168.10.50, so that will be my primary DNS server. I will set the network gateway as my secondary DNS server. Your configuration will differ from mine, unless you're copying exactly. Hit "Enter" once you are satisfied.
Join the Server to the Domain
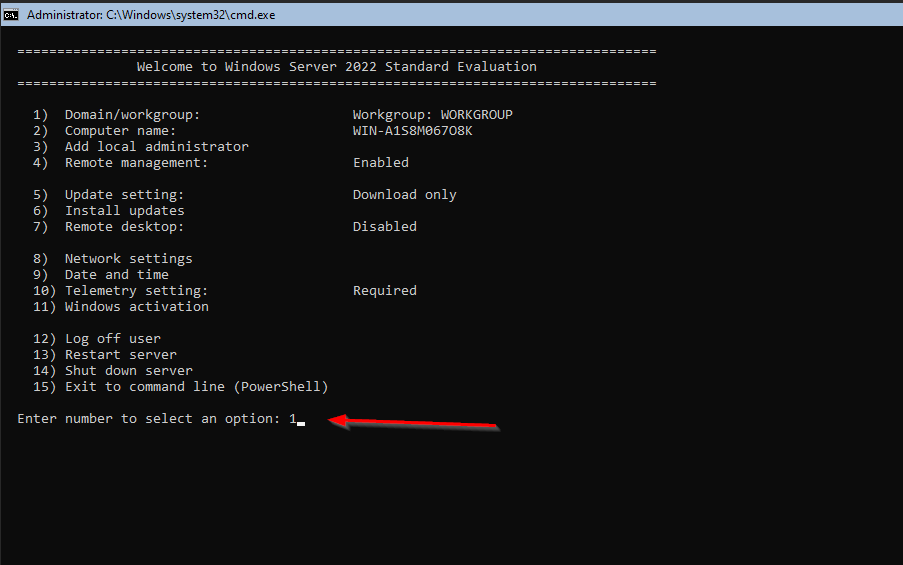
From the main SConfig screen, type "1" and hit Enter.
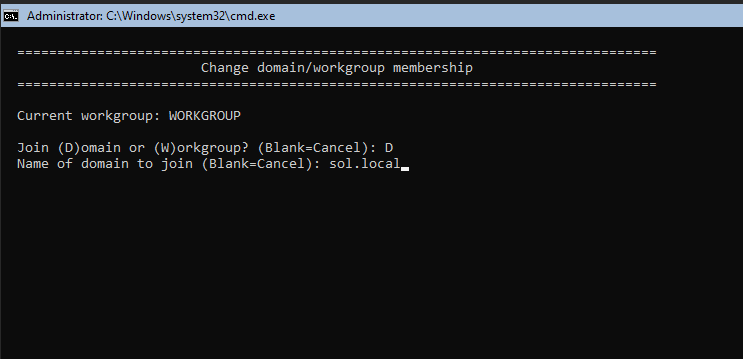
Type "D" for domain and hit Enter.
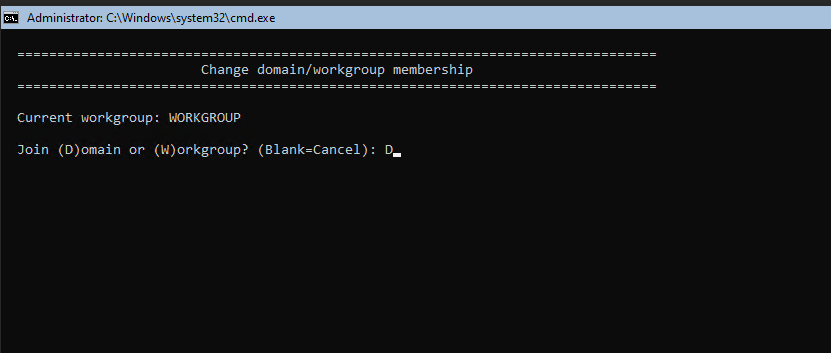
Type in your domain name. In my case, the domain is "sol.local"
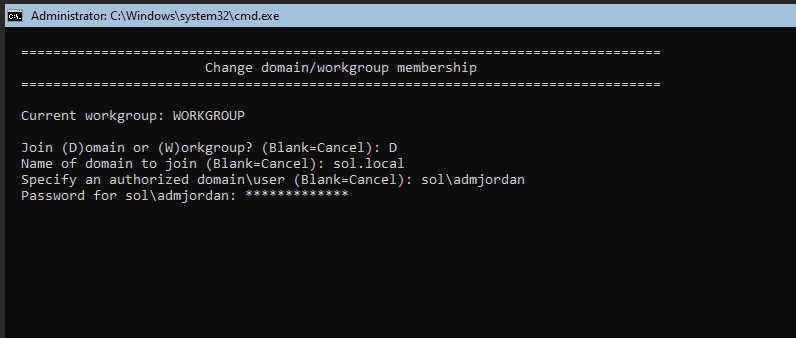
Next, type in your domain admin credentials. In my case it is sol\admjordan and my password. Hit Enter.
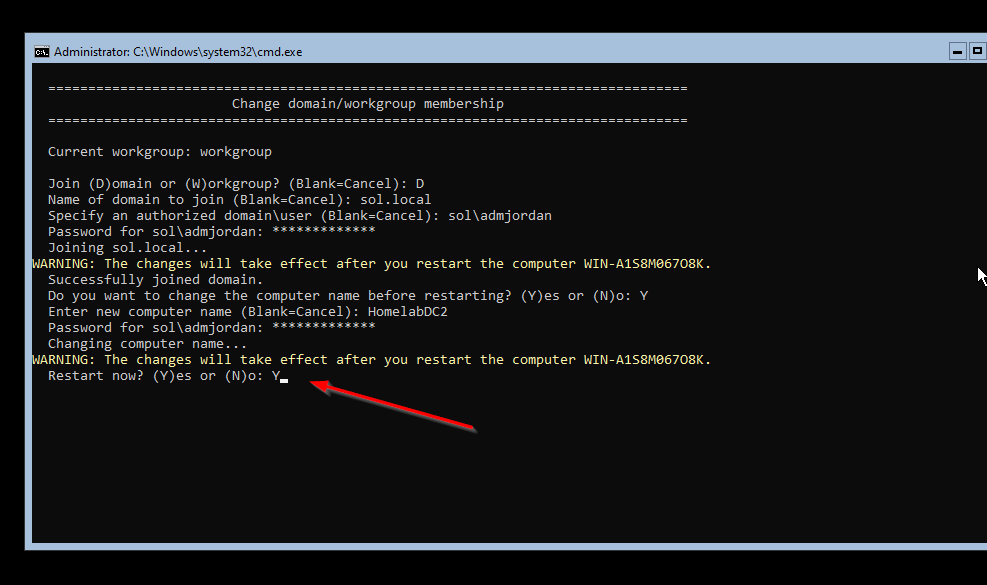
If successful, your output will look something like this:
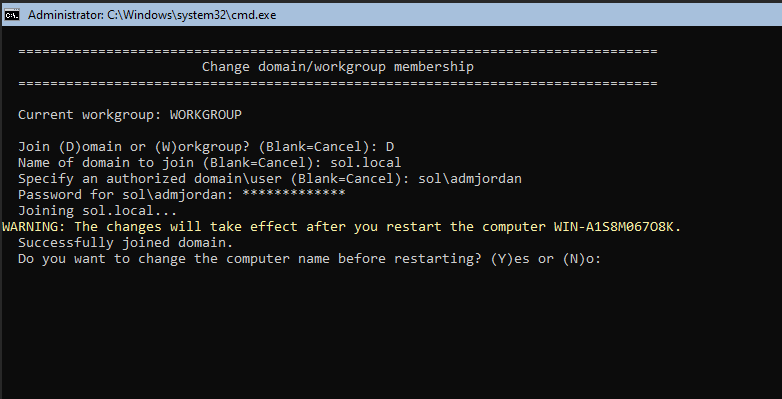
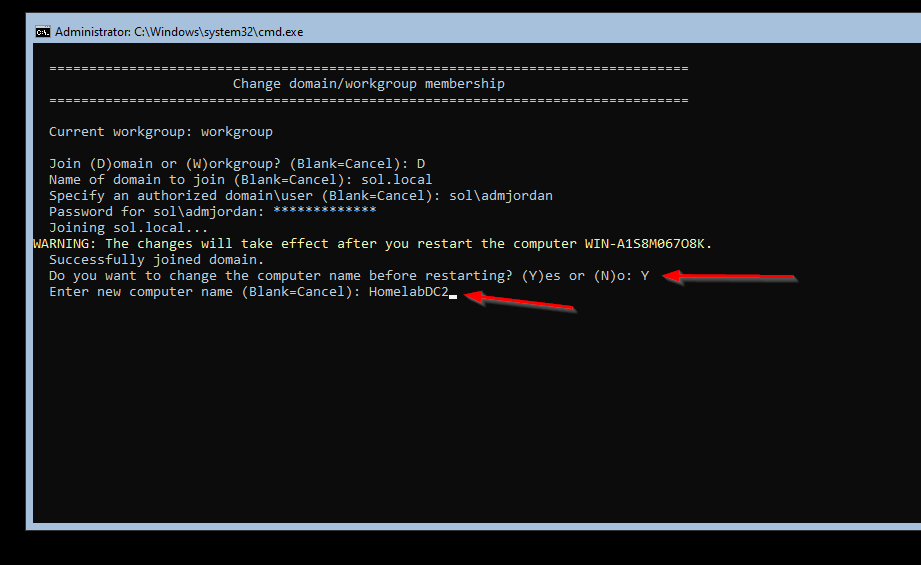
Type "Y". Hit Enter. Type in the name you'd like the server to have. This server will be a secondary domain controller for my domain, so I am naming it "HomelabDC2".
It will then prompt you for your password again. Type it and then type "Y" to confirm the restart.
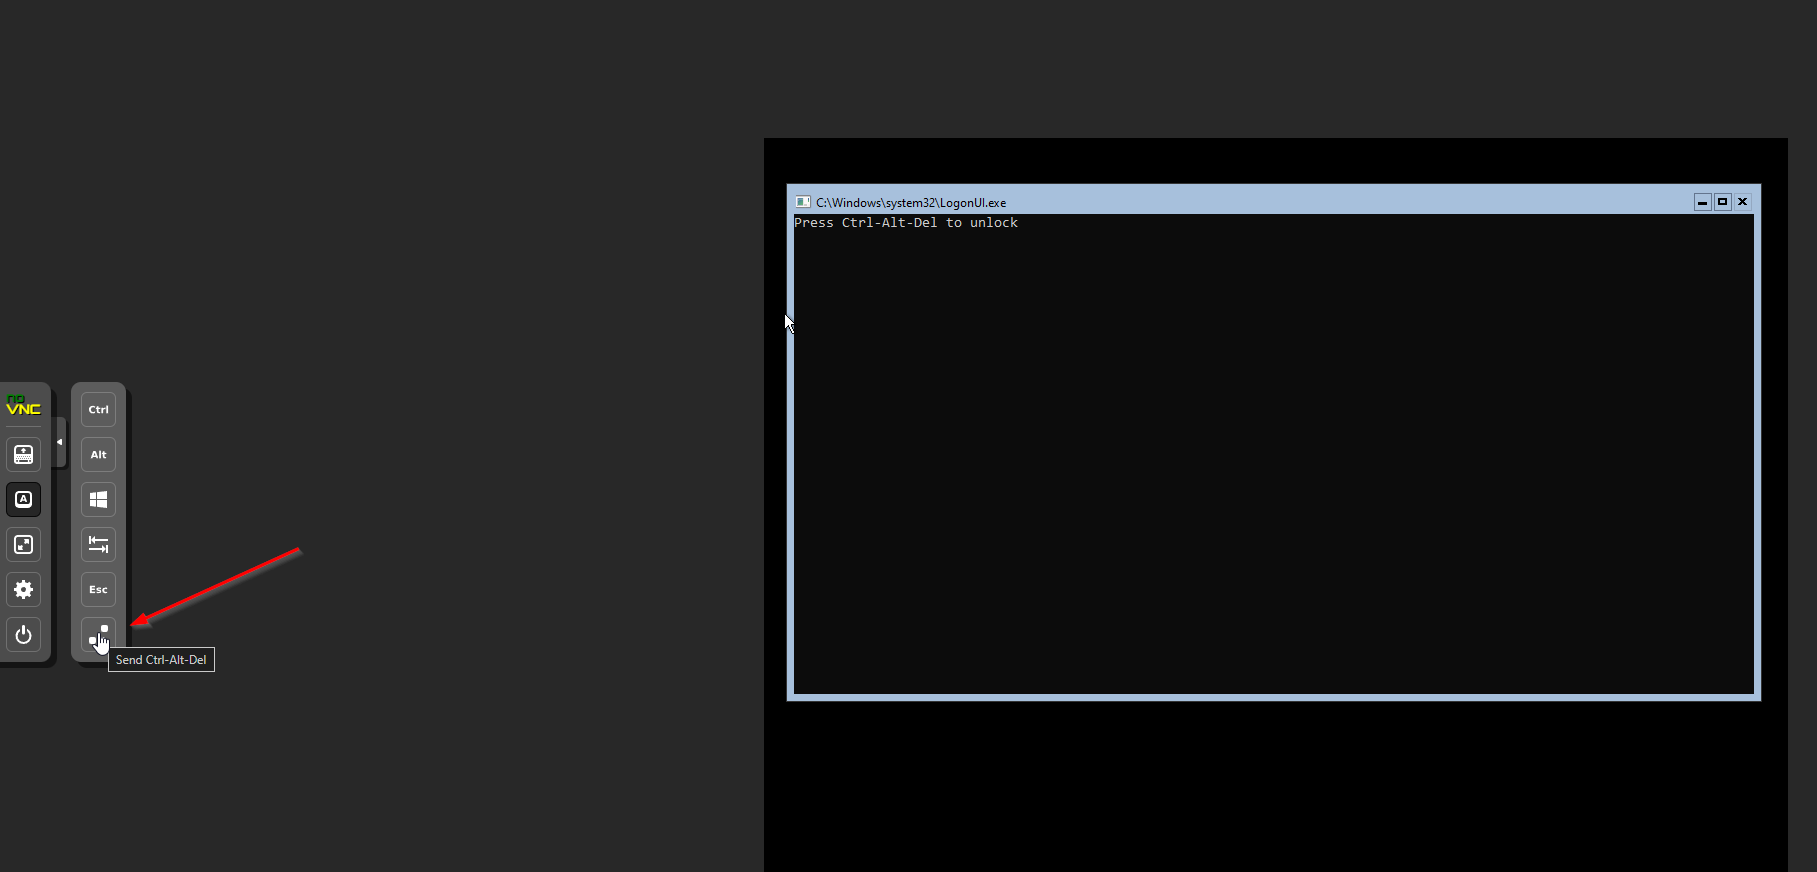
The computer will reboot. Once it comes back up, let's try to log in with our Domain Admin account. For me, this is sol\admjordan.
You'll need to send the ctrl+alt+del command via Proxmox to unlock the login.
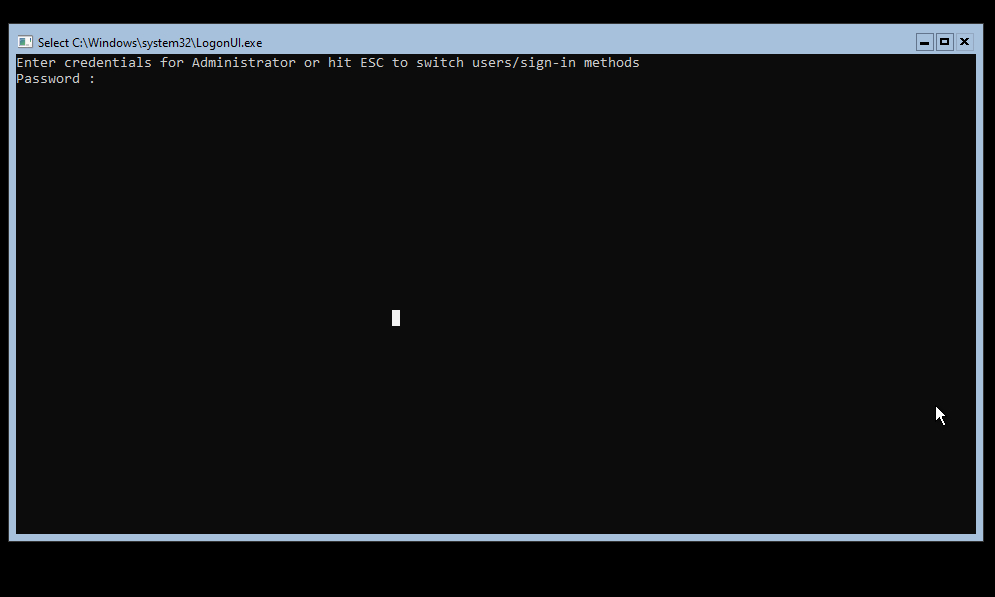
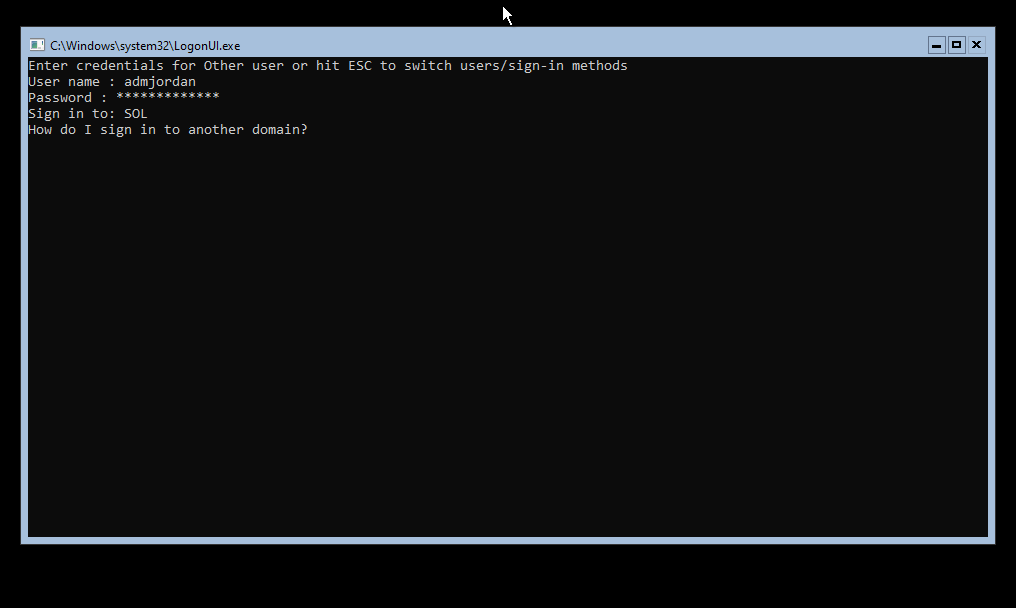
Hit the Escape (esc) key to log in as a user other than the local administrator.
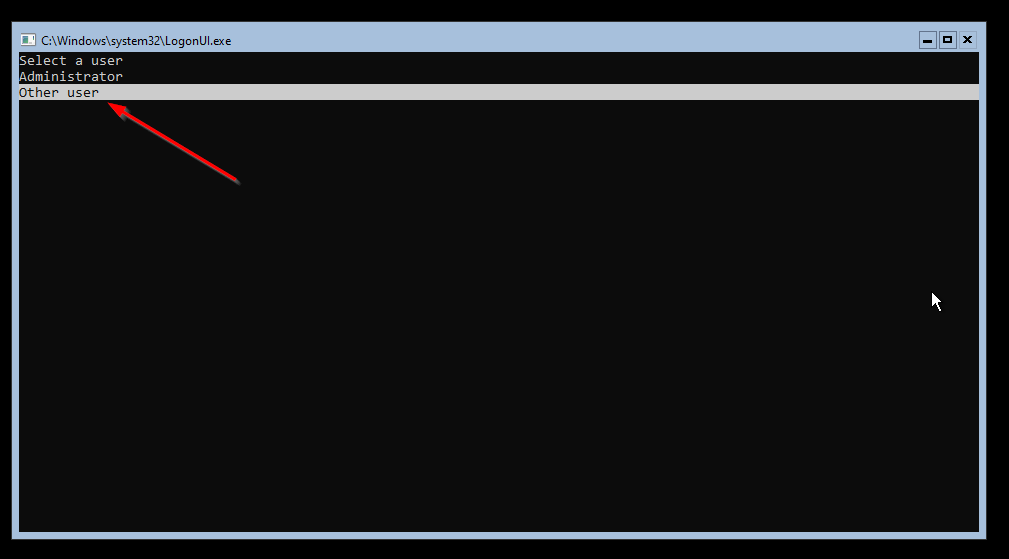
Move your cursor to "Other User" as shown below and hit enter.
Type in your username. Hit the tab key. Type in your password and hit Enter
Upon login, you will see SConfig come back up.
That's all for this guide! I hope you enjoyed and were able to get your Windows Server 2022 Core installation up and running. If you had trouble, feel free to ask in the comments. Also, let me know what other kinds of guides you'd like to see. Below are a couple I am planning on making.
- How to manage a server running Core via Windows Server Manager
- Installing Active Directory Domain Services via Powershell.
- Remoting to servers running Windows Server Core
Sign up below to stay up to date on anything I post. Happy sysadmining!


Comments ()